 (Image via
Converting everyday items into stylish home decor rewards you while also being environmentally friendly. Creating a minimalist wall clock using repurposed materials showcases your creativity while giving new life to items that might otherwise get discarded. This project suits those who appreciate simple designs and sustainable practices, offering a unique piece that reflects your personal style.
Materials Needed
- Base material (e.g., old vinyl record, wooden board, or vintage serving tray)
- Clock mechanism kit (includes hands and movement)
- Battery for the clock mechanism
- Number stencils or markers
- Paint or stain (optional for customization)
- Paintbrushes or applicators
- Drill with appropriate bits
- Ruler and pencil for measurements
- Hanging hardware (D-rings or strong adhesive hooks)
- Protective gloves and eyewear
Preparing Your Workspace
Setting up an organized and safe workspace proves crucial for a smooth crafting experience. Start by selecting a well-lit area with ample space to lay out all your materials and tools. Ensure your workspace stays free from clutter to prevent accidents and make crafting more efficient.
Gather all the necessary tools and materials before you begin. Having everything at hand minimizes interruptions and helps maintain focus. Lay down a protective covering, such as a drop cloth or old newspapers, to protect surfaces from paint splatters or accidental spills.
Step-by-Step Guide to Crafting the Clock
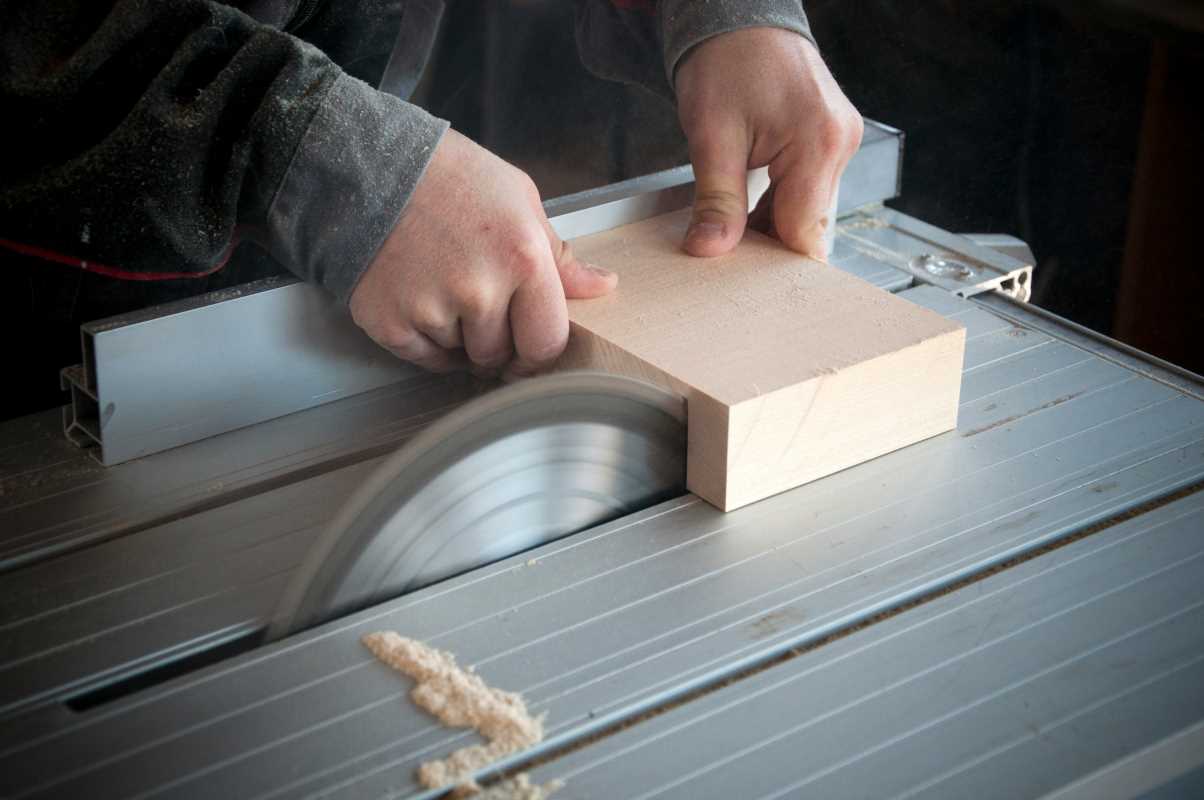
- Select your base material from readily available repurposed items. Consider the size and shape that best fits your aesthetic preferences.
- Clean the base thoroughly to remove any dirt or residues. This ensures that the paint or stain adheres properly.
- If you plan to paint or stain the base, apply an even coat using a paintbrush or applicator. As per the paint manufacturer's instructions, allow sufficient drying time.
- Once the base is dry, decide where you want to place the clock mechanism. Typically, the center of the base works best for balance.
- Mark the exact spot for the clock mechanism using a ruler and pencil. This ensures that the clock hands will align correctly.
- Carefully drill a hole at the marked spot, making sure it’s just large enough to accommodate the clock mechanism’s spindle.
- Insert the clock mechanism into the hole, following the manufacturer's instructions. Secure it firmly to prevent wobbling.
- Attach the clock hands to the mechanism, ensuring they move freely without obstruction.
- If desired, add numbers or markers to your clock face using stencils or markers. Position them evenly around the clock for a balanced look.
- Insert the battery into the clock mechanism and test the movement of the hands to ensure everything is functioning correctly.
- Attach your chosen hanging hardware to the back of the clock. Make sure it's securely fastened to support the weight of the finished piece.
- Hang your new wall clock on a wall of your choice and admire your handiwork!
Creative Tips and Tricks
- Incorporate different textures by using materials like reclaimed wood or metal pieces for the clock base.
- Add personalized touches by painting the clock in your favorite colors or patterns that match your home decor.
- Use unique numbering systems, such as Roman numerals or minimalist dots, to enhance the clock's aesthetic.
- Integrate small decorative elements like dried flowers, beads, or metallic accents for added flair.
- Experiment with distressed finishes to give the clock a vintage or rustic look.
Troubleshooting Common Issues
- The clock hands are not moving smoothly: Ensure that you properly attach the hands and that they aren't touching each other or the base. Lubricate the mechanism if necessary.
- The base material is too thick for the clock mechanism: Use a drill bit that matches the spindle size and carefully drill deeper if needed, being cautious not to damage the material.
- Paint is peeling or not adhering: Make sure the base is thoroughly cleaned and consider applying a primer before painting to improve adhesion.
- The clock is unbalanced: Verify that the clock mechanism is centered and securely fastened. Reposition if necessary to achieve a balanced appearance.
- Numbers or markers are uneven: Use a level and measuring tape to ensure accurate placement. Consider using templates or stencils for uniformity.
Crafting a minimalist wall clock with repurposed materials proves a fulfilling project that combines creativity with sustainability. By following these steps and tips, you can create a beautiful and functional piece that adds a personal touch to your home. Dive into other DIY projects and continue exploring the endless possibilities of crafting with repurposed materials.