 (Image via
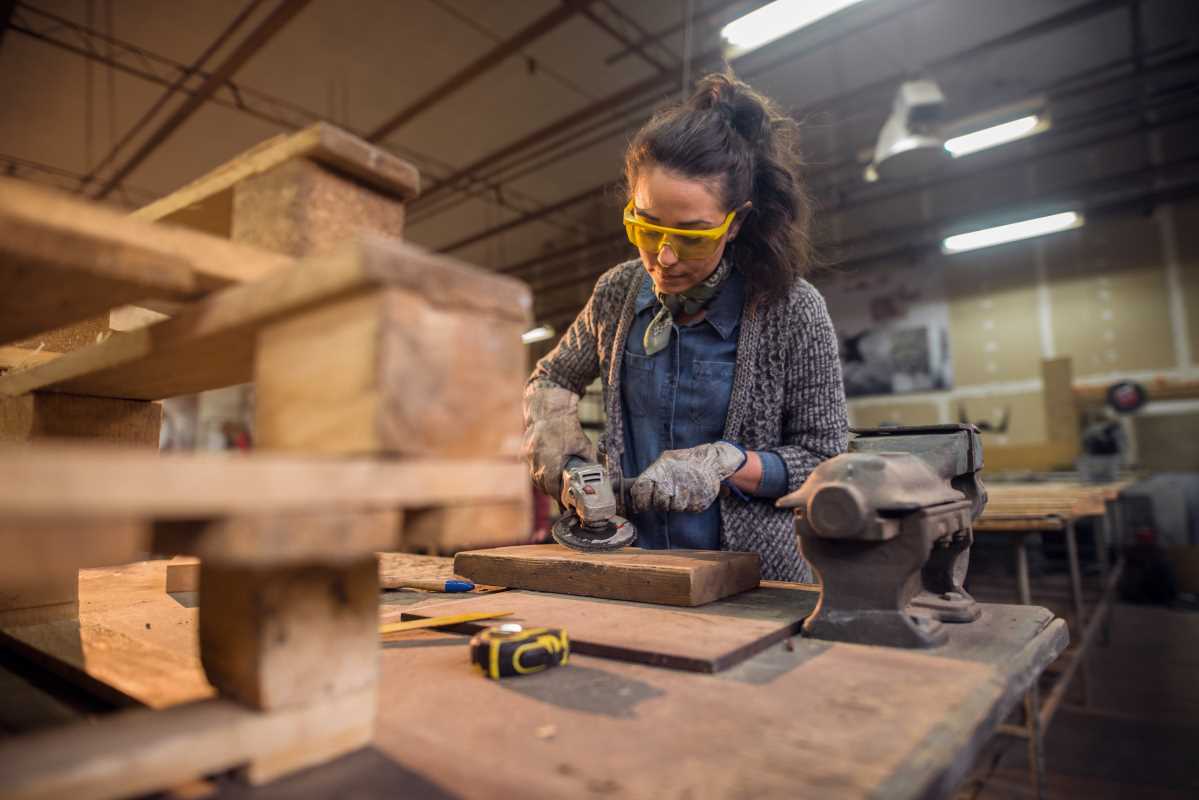
Designing and assembling a floating bookshelf allows you to showcase favorite books, photos, or collectibles while bringing a sleek, contemporary look to your space. This hands-on project combines practical storage with eye-catching style, turning a simple wall into an attractive focal point. Using standard woodworking tools and taking your time with each step, you can create a durable shelf that supports your belongings and enhances your room’s décor. Completing this DIY task brings a sense of accomplishment, as your finished bookshelf reflects your personal taste and provides a unique place for treasured items to shine.
You get to tailor the design to fit your space while learning a few handy woodworking skills along the way. The process involves careful planning, precise measurements, and a bit of creativity to ensure your floating shelf looks as good as it performs.
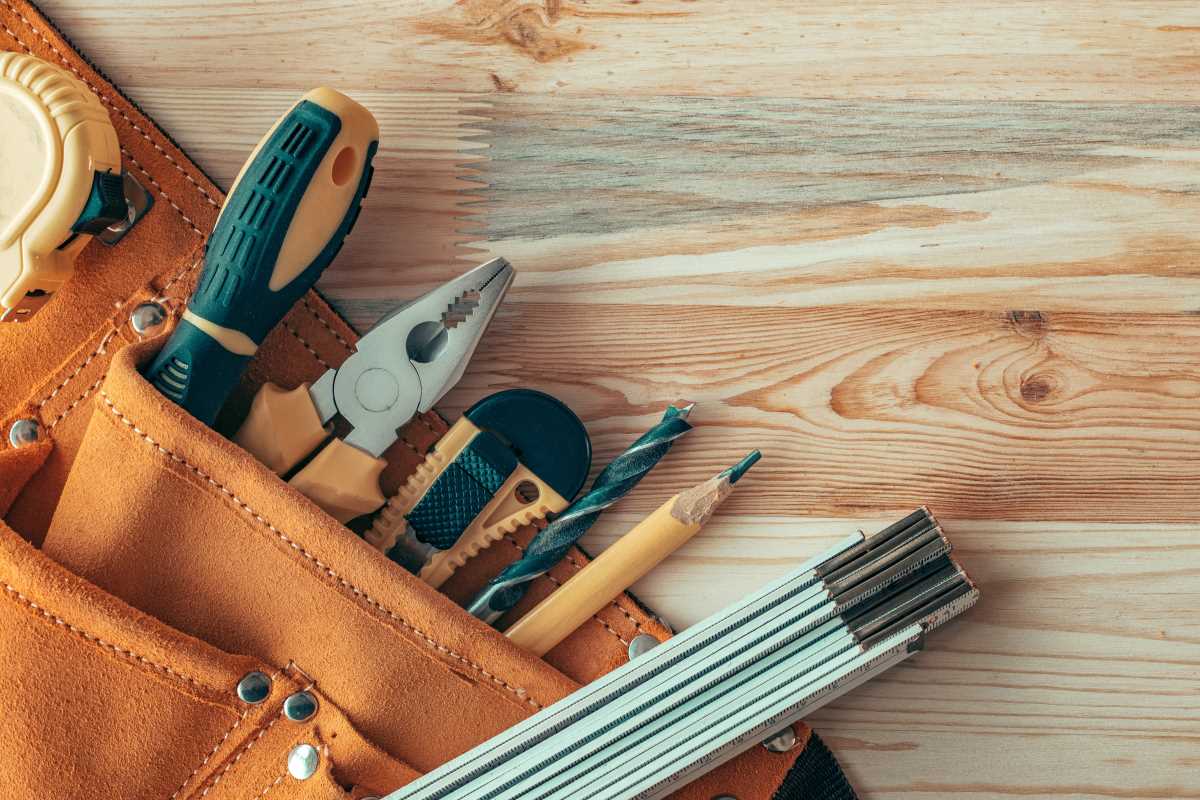
Materials and Tools Needed
Before you start cutting and drilling, gather all the necessary supplies. Having everything on hand makes the process smoother and lets you focus on the fun part—building your new floating shelf. The materials and tools below will make your woodworking journey enjoyable and efficient.
Check off each item on the list to ensure nothing is overlooked:
- Wood board or reclaimed wood
- Supporting brackets
- Screws and wall anchors
- Measuring tape
- Hand saw or circular saw
- Drill and bits
- Level
- Sandpaper or power sander
- Paint, stain, or varnish (as desired)
Planning Your Bookshelf
Planning is a crucial step that sets the stage for a successful project. It helps you determine the size and style of your shelf so it blends well with your living space. Taking the time to plan means fewer surprises while constructing your shelf, and you can customize details to suit your exact taste.
Think about these key aspects to get started:
- Choose a suitable wall space that is both accessible and visually appealing.
- Measure the available space accurately to determine the proper dimensions for your shelf.
- Select the type of wood that complements your decor—whether it's a fresh, natural look with reclaimed wood or a painted finish to add a pop of color.
Step-by-Step Building Instructions
Transforming raw materials into a sleek floating bookshelf is easier than you might expect. Each step in the process is important, ensuring that your shelf is secure and visually pleasing. Follow these instructions carefully, and don’t hesitate to pause and recheck your measurements for accuracy.
Start building by following these steps:
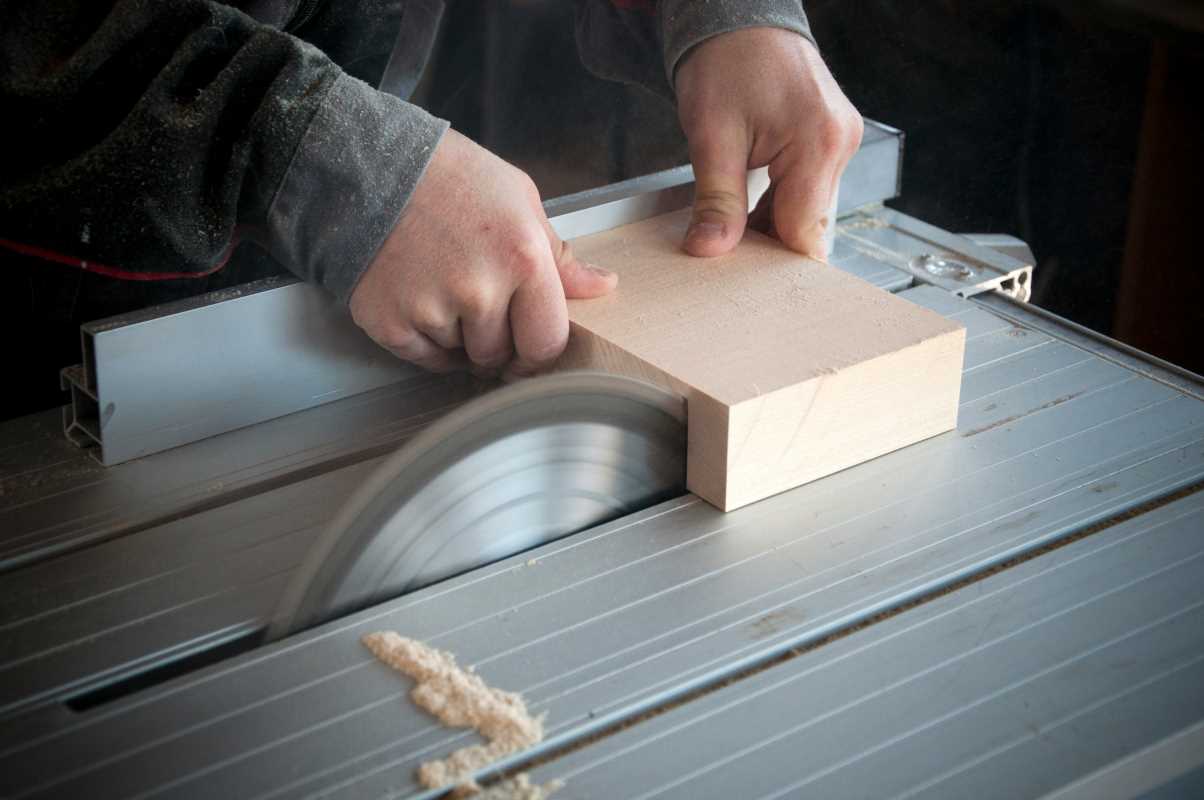
- Measure and mark the desired dimensions on your wood board. Accuracy here is key to ensuring your shelf fits perfectly within your space.
- Use a saw to carefully cut the wood according to the marked lines. Maintain a steady hand and take your time for smooth cuts.
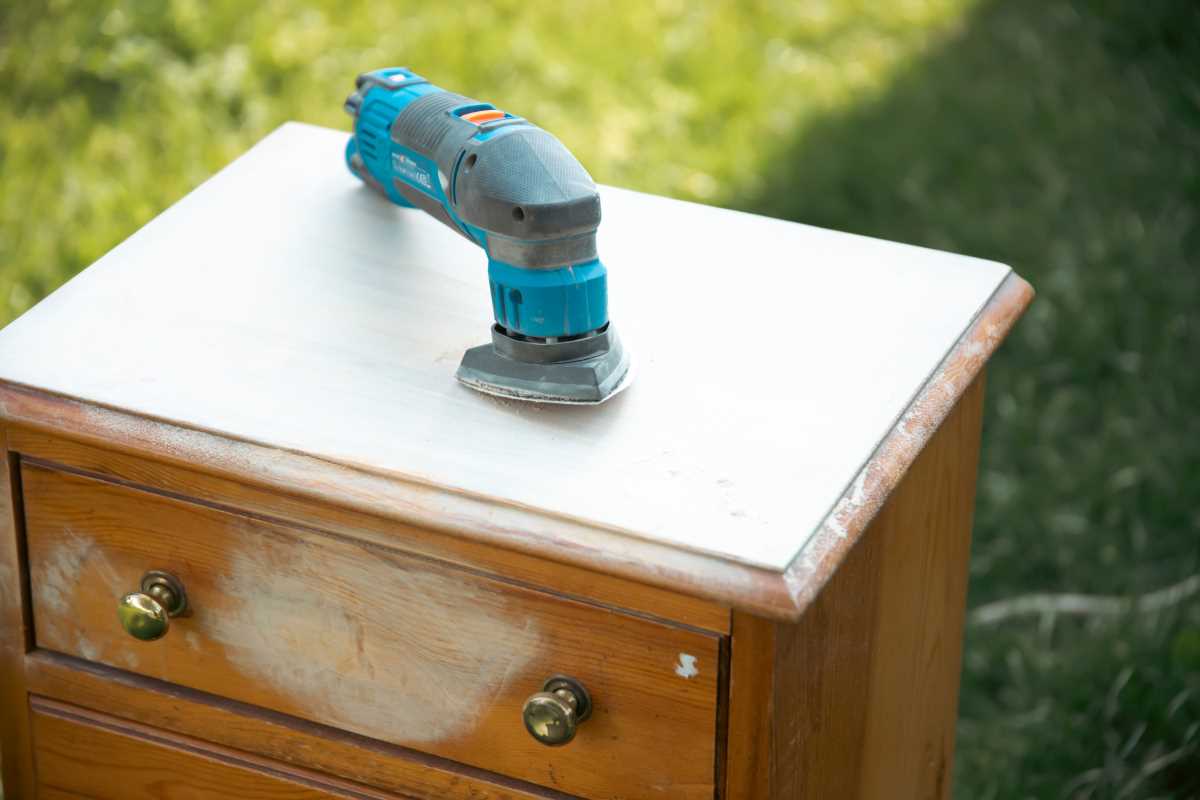
- Sand the cut edges thoroughly, smoothing out any rough areas to prepare the surface for finishing. A well-sanded edge gives the final product a professional look.
- Attach the supporting brackets to the wall with screws and wall anchors. Ensure they are level so your shelf will sit evenly.
- Secure the wood board onto the brackets using additional screws. Double-check that the shelf is stable and properly aligned before moving on to the finishing touches.
- Apply your chosen finish to the wood. Whether you decide to paint, stain, or varnish, let each coat dry completely as you build the finish layer by layer.
Finishing Touches and Installation Tips
The final touches make all the difference in transforming your floating bookshelf from a simple project into a stylish design piece. Once your shelf is assembled, consider a few finishing steps to protect and enhance its appearance. Taking your time with these steps ensures your shelf will last and provide a lasting aesthetic appeal.
Pay close attention to detail during installation. Revisit any spots that might need extra sanding or an additional coat of finish. Securely mounting the shelf is essential; use extra wall anchors in older walls and check that the bracket screws are tight to prevent any potential sagging over time.
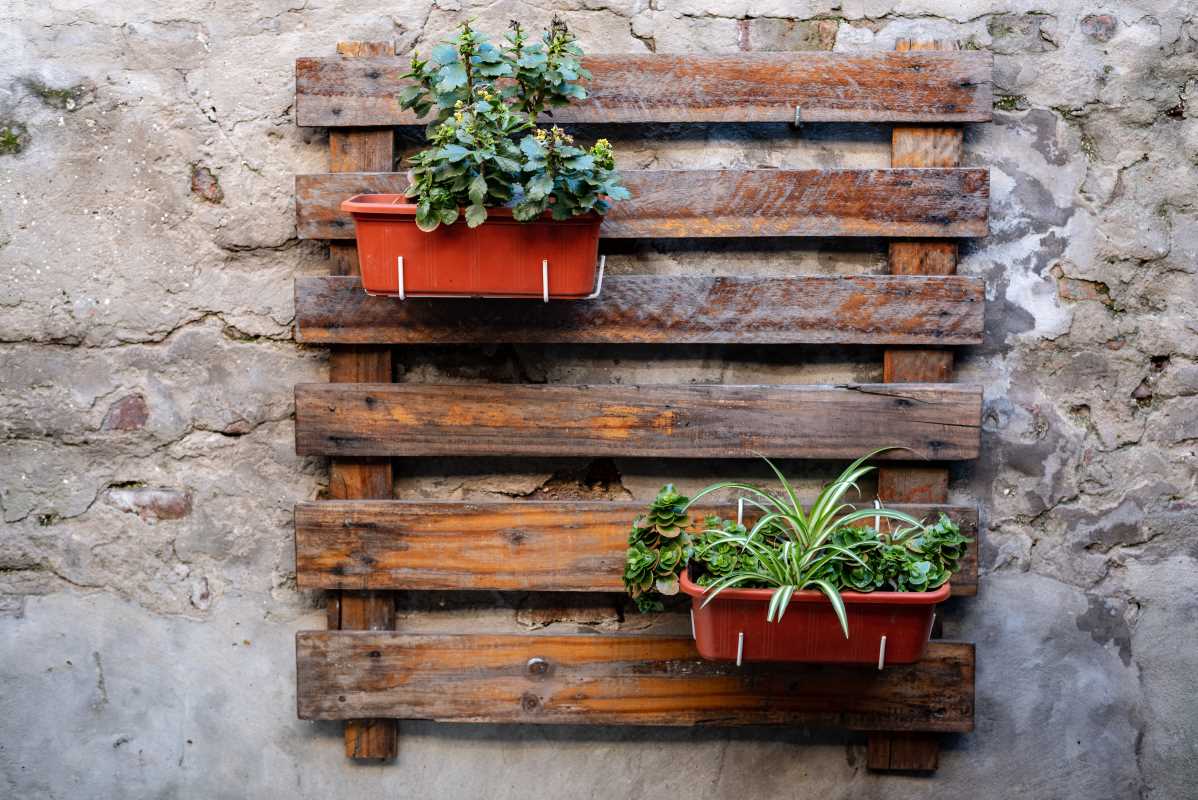
Creative Ideas for Styling Your Floating Bookshelf
Now that your floating bookshelf is complete, it is time to decide how to make it a feature of your room. Arranging your books and decor on this shelf offers endless opportunities to showcase your personality. The design can complement your aesthetic, whether it is minimalist, eclectic, or rustic.
Bring your creativity into how you utilize this space. Consider these ideas to bring your shelf to life:
- Mix books with small plants and art pieces for a balanced look.
- Think about adding gentle lighting, like LED strips, to create visual interest and highlight special items.
- Rotate the display periodically to keep the look fresh and engaging.
This floating bookshelf project provides a fun way to experiment with woodworking and add a personalized touch to your space. Try different finishes and accessory arrangements to make sure the shelf fits seamlessly with the rest of your decor.
The process combines practical design with creative freedom, making it both enjoyable and memorable. Experience the satisfaction of building something unique and functional yourself.