Securing a large family home can feel manageable with the right approach. Select a system that matches your home’s size, your budget, and your familiarity with technology to help everyone feel safer. This guide covers some of the best smart security options on the market, breaks down key features to look for, and shares helpful tips for setting up cameras and ensuring sensors work together smoothly. By understanding these systems and how they operate, you can create a safer environment for your household and enjoy greater confidence in your home’s protection.
We’ll look at real user experiences, compare installation options, and share tips for maintaining everything long after you set it up. By the end, you’ll have a clear plan to secure every hallway, backyard gate, and basement window in ways that truly fit your daily routine.
Important Features to Check for Large-Home Security Systems
When you protect a property spanning multiple floors and outdoor areas, a few key features make a big difference:
- Coverage radius: Choose cameras and sensors rated for wide fields of view, preferably 140 degrees or more.
- Wireless range and mesh networking: Use devices that communicate clearly over long distances without dead spots.
- Local storage versus cloud backup: Weigh monthly fees against how easy it is to retrieve footage when needed.
- Expandable sensor packs: Start with doors and windows, then add motion detectors, glass-break sensors, or water leak monitors when necessary.
- Smart alerts and user profiles: Select a system that allows you to set different access codes or alerts for family members, landscapers, and house sitters.
Choose hardware that integrates smoothly with door locks, lighting, and voice assistants. Otherwise, you might spend more time troubleshooting than feeling secure.
Reviews of Top Smart Security Systems
Below is a comparison of four systems that received high ratings from homeowners with large properties. We evaluated upfront costs, monthly fees, and how many devices come in each starter kit.
- Nest Secure:
- Starting price: $499 (includes 2 sensors, 1 hub, 1 keypad)
- Monthly fee: $10 (optional video history)
- Advantages: Sleek design, seamless integration with Google Home
- Disadvantages: Limited range for door/window sensors
- Ring Alarm Pro:
- Starting price: $249 (base station, keypad, range extender, 4 contact sensors)
- Monthly fee: $20 for video recording and professional monitoring
- Advantages: Built-in Wi-Fi 6 router, supports Eero
- Disadvantages: Requires subscription for cloud storage
- Arlo Pro 4:
- Starting price: $599 (2 cameras, 1 hub)
- Monthly fee: $3 per camera for 30-day cloud storage
- Advantages: 2K video, color night vision, solar panel option
- Disadvantages: Slight delay in live view
- SimpliSafe:
- Starting price: $229 (base station, keypad, 3 entry sensors)
- Monthly fee: $25 for professional monitoring
- Advantages: No long-term contract, straightforward add-ons
- Disadvantages: Cameras sold separately and add up quickly
Users who shared their setup stories praised Ring for its security and Wi-Fi stability, while fans of Nest appreciated the minimalist look. Arlo’s solar cameras received praise from those with large yards where power outlets are far apart.
Planning Installation and Setup
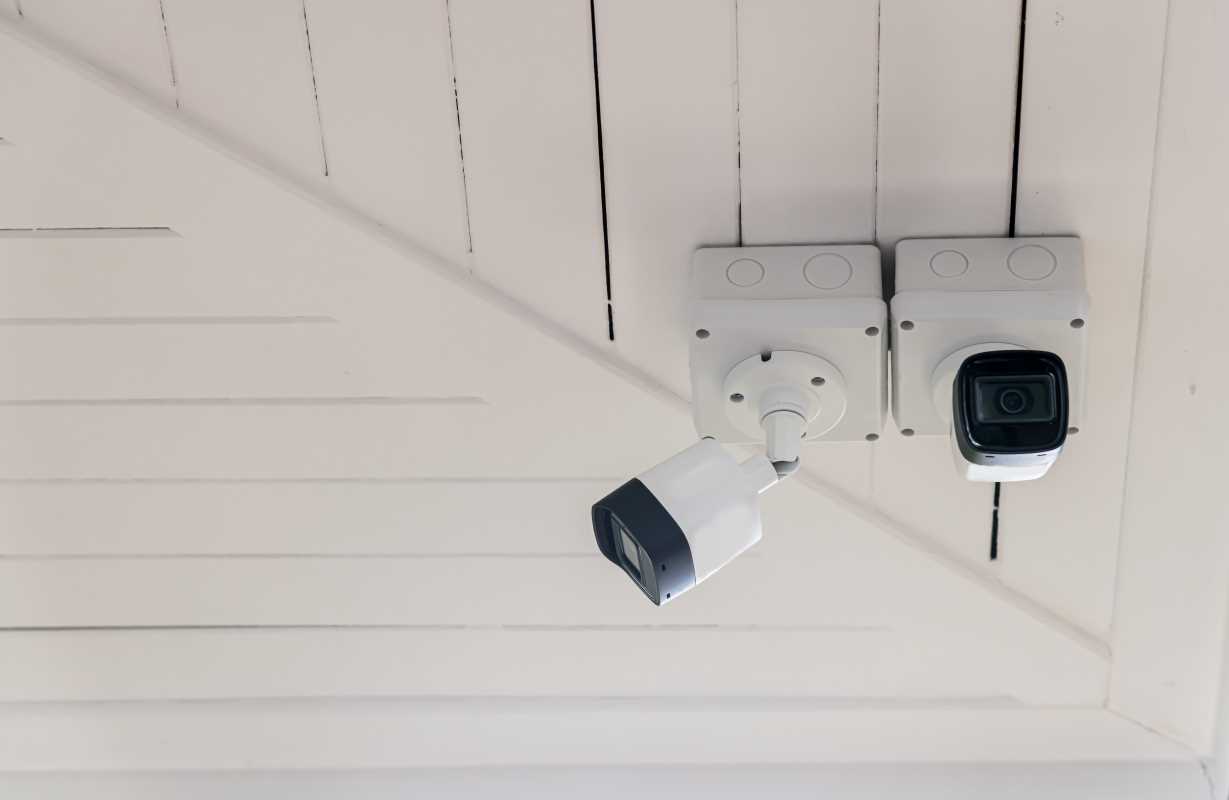
Choosing a system is only part of the process. Installing it without headaches requires careful planning. Walk through each zone of your home with a tape measure and notebook. Mark where sensors need clear sight lines and where cameras can mount to cover blind spots.
Most DIY kits allow you to attach sensors to doors and windows with adhesive strips. If your walls are drywall or brick, buy anchors and screws. Mark drill points before you start to avoid crooked mounts that need patching afterward.
- Test Wi-Fi signal strength at each camera location using a mobile app.
- Place the hub centrally in your home to prevent sensor batteries from draining quickly.
- Label sensor codes by location so notifications read clearly, like “Kitchen window opened” instead of “Sensor 004 triggered.”
Connecting with Home Automation
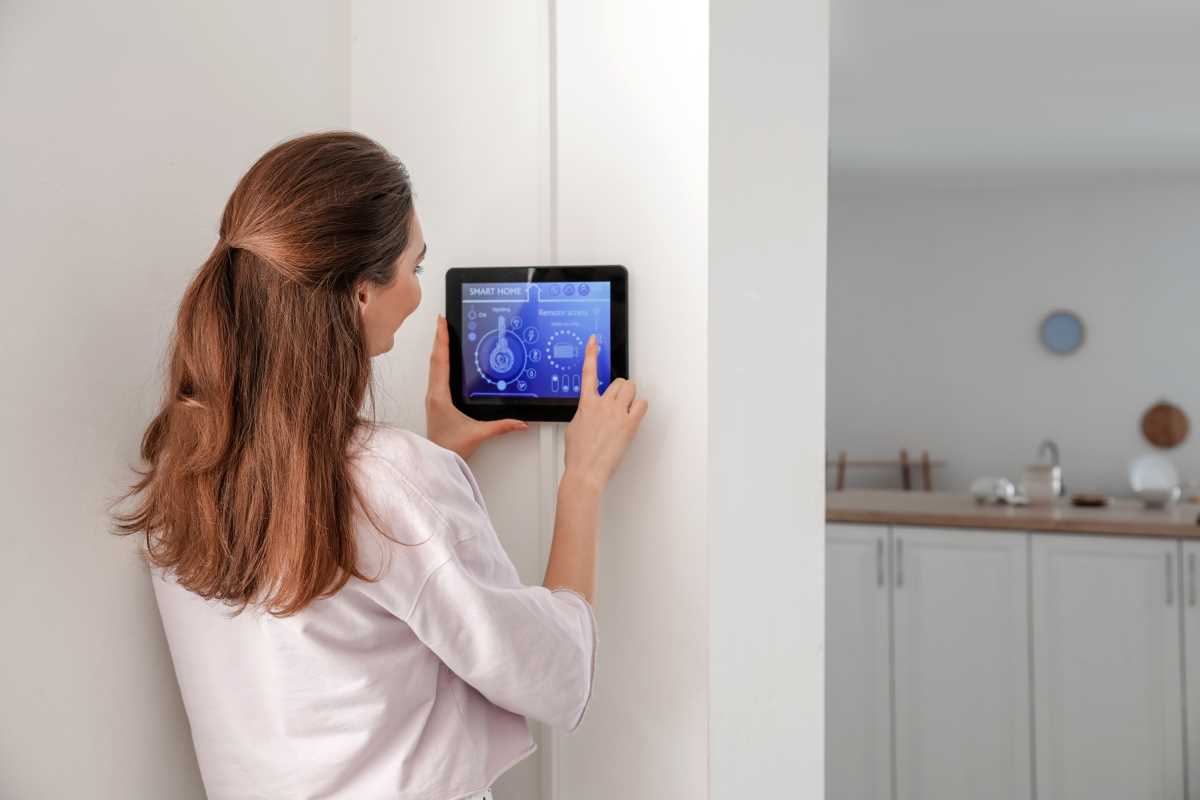
Security systems work best when they link with other smart devices. Combine lighting, locks, thermostats, and voice assistants so a single app or voice command handles everything.
- Use Amazon Alexa and Google Assistant to arm and disarm security with voice commands.
- Set up IFTTT recipes to turn on hallway lights when a camera detects motion at night.
- Link smart locks from brands such as Schlage or Kwikset through Zigbee or Z-Wave hubs.
- Expand outdoor coverage with solar-powered smart cameras that operate without power outlets.
Choose one platform to keep things simple and avoid juggling multiple apps. That makes it easier when you want lights to flash on an alarm or broadcast messages through smart speakers.
Maintaining Your System and Troubleshooting
Once your system runs, schedule quarterly checks to replace sensor batteries and update firmware. Low battery alerts don’t always show clearly, so proactively replacing batteries prevents devices from going offline.
If a camera disconnects, reboot the hub and check your network for congestion. Sometimes switching to a less crowded Wi-Fi channel or changing from 2.4 GHz to 5 GHz improves the feed. Adjust antennas or add a mesh node if the range remains unreliable.
Keep organized logs to track recurring issues. Record date, time, and troubleshooting steps for false alarms. This record speeds up support calls and reveals patterns, like a faulty sensor near a sunny window that triggers false alarms when heated.
Select a security system like SimpliSafe or ADT that fits your family’s routine. Properly installed cameras, sensors, and automations help you feel secure and connected at home.
 (Image via


