(Image via
Fashioning a personalized quilt from heirloom fabric scraps represents a wonderful way to preserve memories and craft something uniquely yours. It gives old fabrics new life and offers a meaningful project that combines creativity with sentimental value. Whether you’re an experienced quilter or just starting out, this guide will walk you through each step to help you make a beautiful, one-of-a-kind quilt.
Heirloom fabrics carry stories and history, making them perfect for a personalized quilt. By repurposing these materials, you create a piece that not only looks stunning but also holds significant emotional value. Let’s dive into the process of transforming your cherished fabric scraps into a cozy quilt that you’ll treasure for years to come.
Gathering Your Heirloom Fabric Scraps
The first step in crafting your quilt involves collecting the heirloom fabrics you plan to use. These fabrics can come from a variety of sources and hold different meanings, adding depth and character to your finished quilt.
- Old Clothes: T-shirts, dresses, and other garments that have sentimental value.
- Linens: Tablecloths, bed sheets, and pillowcases that feature unique patterns.
- Quilts: Pieces from family quilts or other handcrafted textiles.
- Scarves and Ties: These can add vibrant colors and interesting textures.
- Children’s Clothing: Baby blankets and outfits preserve precious memories.
- Specialty Fabrics: Any fabric with embroidery, applique, or other embellishments.
Take the time to sort through your fabric scraps, ensuring you have enough variety in colors and patterns to create a cohesive design. Don’t hesitate to reach out to family members for additional fabrics that may hold special significance.
Organizing your fabrics by color, pattern, and fabric type will make the planning process smoother. This organization also helps in visualizing how different pieces will come together in the final quilt.
Planning Your Quilt Design
Once you have your fabrics ready, the next step involves planning your quilt design. A well-thought-out design ensures that your quilt is both aesthetically pleasing and structurally sound.
- Choose a Quilt Pattern: Decide on the overall pattern you want, such as patchwork, appliqué, or a combination of styles.
- Determine the Size: Measure the dimensions of your quilt, considering whether it will be a bed cover, throw, or wall hanging.
- Select a Color Scheme: Harmonize the colors from your heirloom fabrics to create a balanced and cohesive look.
- Arrange Your Fabrics: Lay out your fabric pieces to see how they fit together, experimenting with different layouts until you find one you love.
- Calculate Fabric Needs: Based on your design, determine how much fabric you will need for each section of the quilt.
Having a clear plan helps in minimizing mistakes and ensures that your quilt turns out exactly as you envisioned. Sketching your design on paper can also be incredibly helpful in visualizing the final product.
Don’t be afraid to experiment with different arrangements. Sometimes, unexpected combinations lead to the most beautiful results.
Preparing Your Fabric
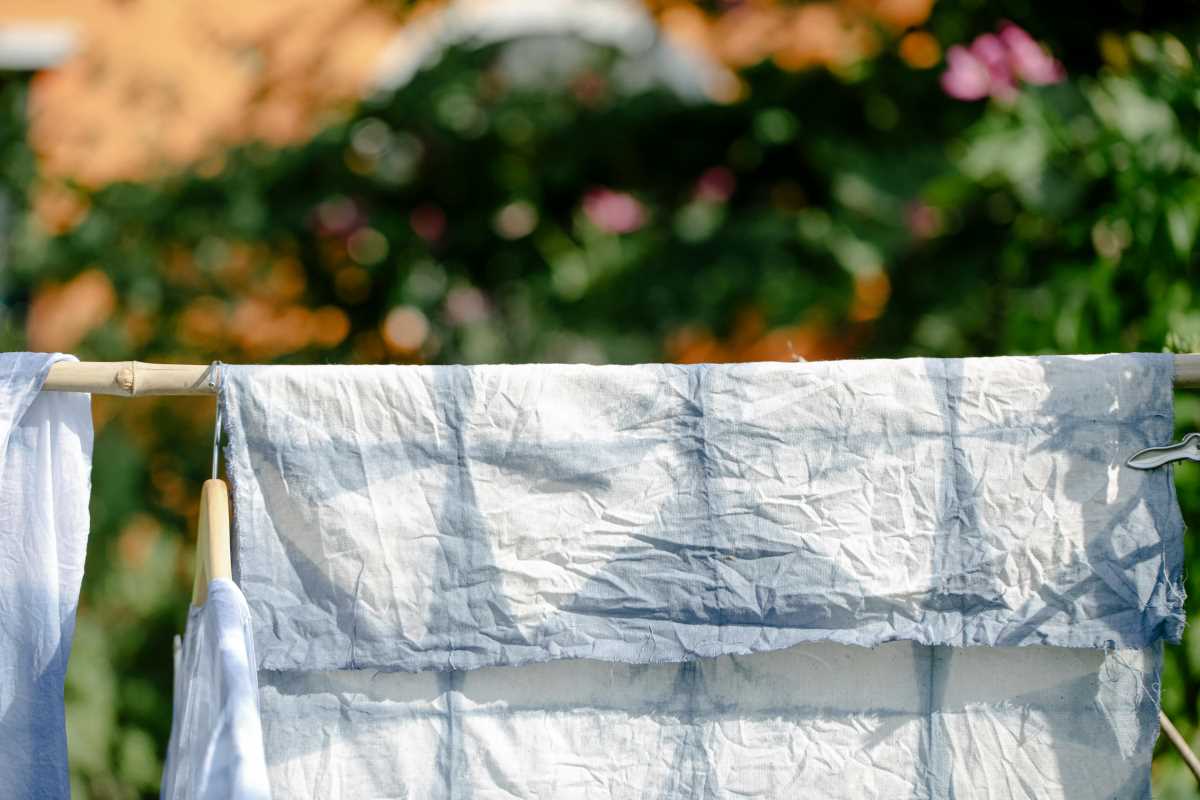
Before you start sewing, preparing your fabrics properly is essential. This preparation ensures that your quilt is durable and has a professional finish. Begin by washing and ironing all your fabric scraps to remove any dirt and wrinkles. This step is crucial, especially if the fabrics have been stored for a long time.
Make sure to trim any loose threads and repair any minor damages. If your fabrics have any embellishments like beads or sequins, consider whether you want to preserve them or remove them for a cleaner look. Aligning patterns and ensuring that all pieces are the correct size is also important for a uniform appearance.
For added personalization, you might consider adding elements like personalized engraving to wooden quilt tags or frames. This small touch can make your quilt even more special and tailored to your taste.
Once your fabrics are prepared, you can move on to cutting and piecing together the quilt blocks. Accurate cutting and careful handling of your fabrics will make the assembly process much smoother.
Assembling the Quilt
With your fabrics prepared and design planned, it’s time to start assembling your quilt. Begin by sewing your fabric pieces together according to your chosen pattern. Use a consistent seam allowance to ensure that all pieces fit together seamlessly.
Consider using a quilting ruler and rotary cutter for precise cuts. Even small inaccuracies can add up, so taking your time during this step is crucial. As you sew, press your seams flat for a neater appearance. Assembling the quilt top first allows you to see how all the pieces come together before adding layers.
Once all the blocks are sewn, arrange them on a flat surface to check for any adjustments needed. This is your opportunity to make sure everything aligns perfectly before moving on to the quilting phase.
Finally, join the quilt top with the batting and backing fabric using a layer of batting between them. This sandwich forms the core of your quilt, providing warmth and stability. Pin the layers together before beginning the quilting process to prevent any shifting.
Adding Personal Touches
Now comes the fun part—adding personal touches to make your quilt truly unique. This is where your creativity can really shine, allowing you to incorporate elements that reflect your personality and the story behind each fabric piece.
You can embellish your quilt with embroidery, appliqué, or decorative stitching. Adding pockets can provide a practical element while still enhancing the overall design. Another way to personalize your quilt is by including quilted monograms or initials, making each piece distinctly yours.
Take your time with this step, as it allows you to infuse the quilt with your personal style and make it a true reflection of your artistic vision.
Finishing Touches
- Binding: Sew the binding around the edges to give your quilt a polished look.
- Label: Add a label with your name and the date to commemorate the creation of your quilt.
- Final Inspection: Check for any loose threads or unfinished seams and make necessary corrections.
- Washing: Give your quilt a final wash to ensure all parts are clean and to set the stitches.
- Framing or Storage: Decide whether you want to frame your quilt or store it properly for future use.
These final steps ensure that your quilt is not only beautiful but also durable and ready for use or display. Taking the time to complete these finishing touches will enhance the overall quality and longevity of your handmade creation.
Remember to handle your quilt with care, especially if it contains delicate heirloom fabrics. Proper maintenance will keep your quilt in excellent condition, allowing you to enjoy it for many years.
Crafting a personalized quilt from heirloom fabric scraps represents a fulfilling project that combines creativity with tradition. By following these steps, you can create a beautiful quilt that not only keeps you warm but also serves as a lasting keepsake of cherished memories. Whether you gift it to a loved one or keep it as a family treasure, your handmade quilt will surely be appreciated and admired for generations to come.