Making your own distressed wooden sign with personalized engraving offers a rewarding project that lets you showcase your creativity and add a unique touch to your home or as a thoughtful gift. Whether you're a seasoned DIY enthusiast or just starting out, this project provides a perfect blend of simplicity and customization. With a few basic materials and tools, you can create a rustic and charming sign that will add character to any room.
Materials and Tools Needed
To get started, gather your supplies. You'll need a piece of wood, preferably reclaimed or distressed for an authentic look. You can find these at thrift stores, salvage yards, or even in your own backyard.
- Wood board (size of your choice)
- Sandpaper (various grits)
- Wood stain or paint
- Paintbrushes and rags
- Engraving tools (hand carving tools or laser engraver)
- Varnish or sealant
- Hanging hardware (hooks or nails)
- Pencil and ruler
- Protective gloves and eyewear
Preparing Your Wooden Sign
- Choose the Wood: Select a wooden board that suits the size and style you envision. Cedar or pine are popular choices for their durability and ease of use.
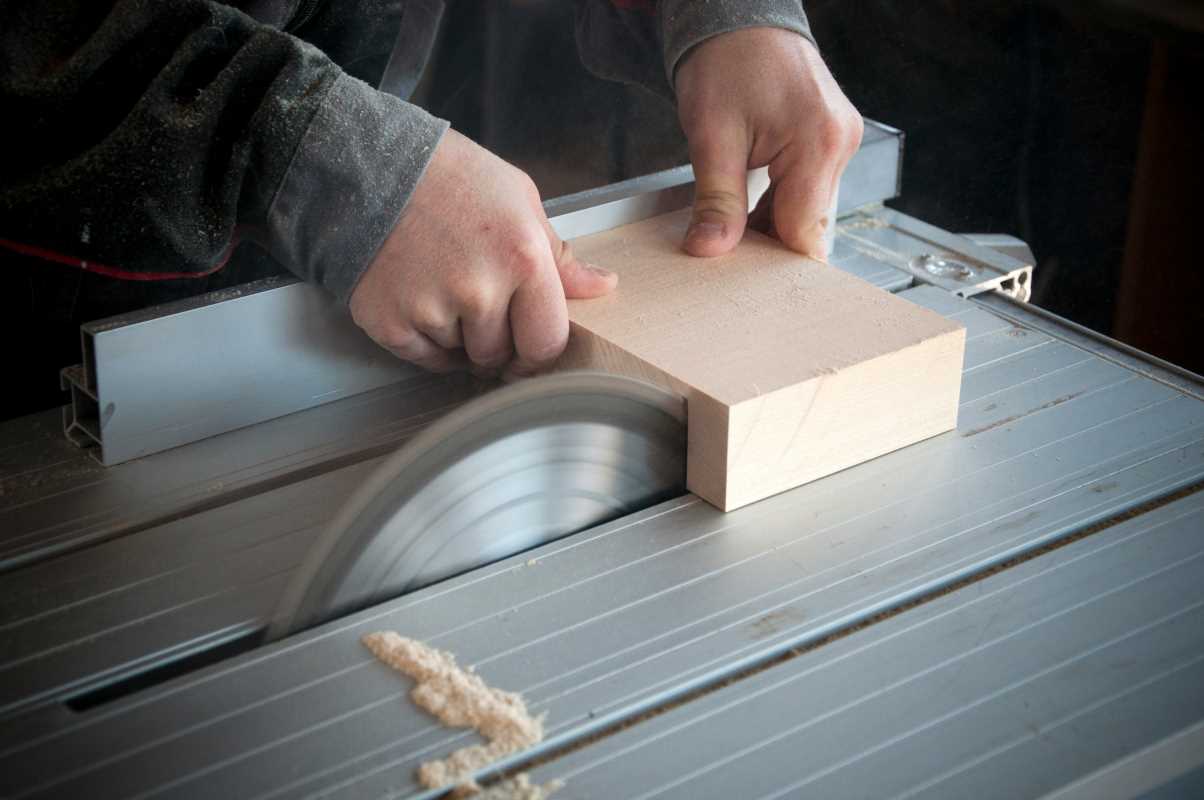
- Cut to Size: If necessary, cut the wood to your desired dimensions using a saw. Ensure the edges are straight and smooth.
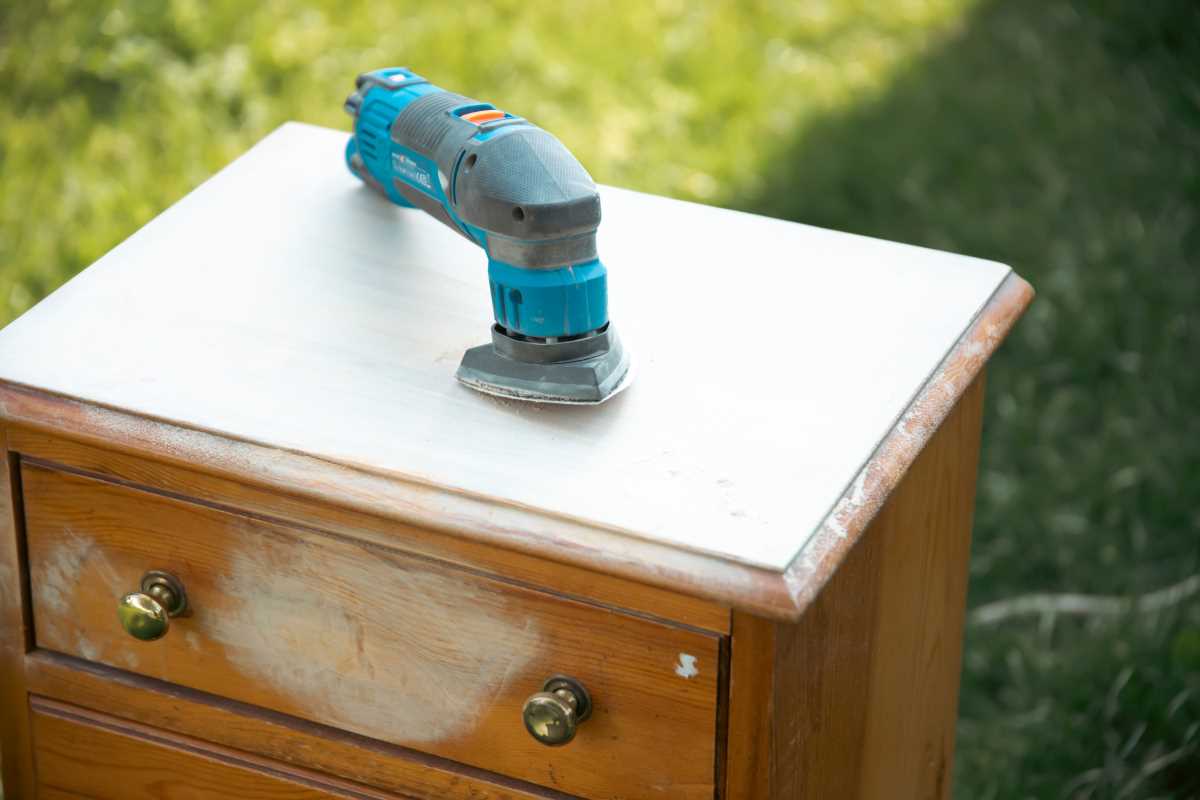
- Sand the Surface: Start sanding the wood with a coarse-grit sandpaper to remove any rough spots, then switch to finer grits for a smooth finish. This prepares the surface for staining or painting.
- Clean the Wood: Wipe away any dust or debris with a damp cloth. Allow the wood to dry completely before moving to the next step.
Creating a Distressed Look
Making a distressed wooden sign involves intentionally aging the wood to give it character and charm. Start by lightly sanding areas of the wood to create wear patterns. Apply wood stain or paint unevenly, allowing some areas to remain lighter for that authentic aged appearance. Using a rag to blot the stain can enhance the distressed effect, making each sign uniquely beautiful.
Another technique is to apply multiple layers of paint and then sand through them while they are still slightly wet. This method exposes the wood beneath and adds depth to the finish. Experiment with different tools like brushes or toothbrushes to dab or flick paint, creating a weathered texture. Remember, the key is to embrace imperfections, as they contribute to the rustic appeal of the sign.
Personalized Engraving Techniques
Personalizing your sign with engraved wood can happen using various methods. Hand carving offers a traditional approach that provides a tactile, handcrafted feel. Using sharp engraving tools, you can meticulously carve out designs, letters, or patterns, adding a personal touch that stands out.
Alternatively, a laser engraver provides precision and consistency, especially useful for intricate designs or multiple copies. This method allows for detailed artwork and can easily incorporate custom fonts and graphics. Whichever technique you choose, take your time to plan your design and practice on scrap wood to ensure your engraving turns out just right.
Finishing Touches
Once you complete your engraving, apply a protective layer to preserve your work. Varnish or sealant not only safeguards the wood from moisture and wear but also enhances the overall appearance by adding a subtle sheen. Use a brush to evenly coat the sign, allowing each layer to dry thoroughly before applying the next.
Consider adding decorative elements such as hooks for hanging, decorative accents like small hardware, or even incorporating LED lights for a unique glow. These finishing touches can elevate your sign from a simple project to a standout piece in your decor. Make sure to choose finishes that complement the distressed look, maintaining the rustic charm you've created.
Displaying Your Wooden Sign
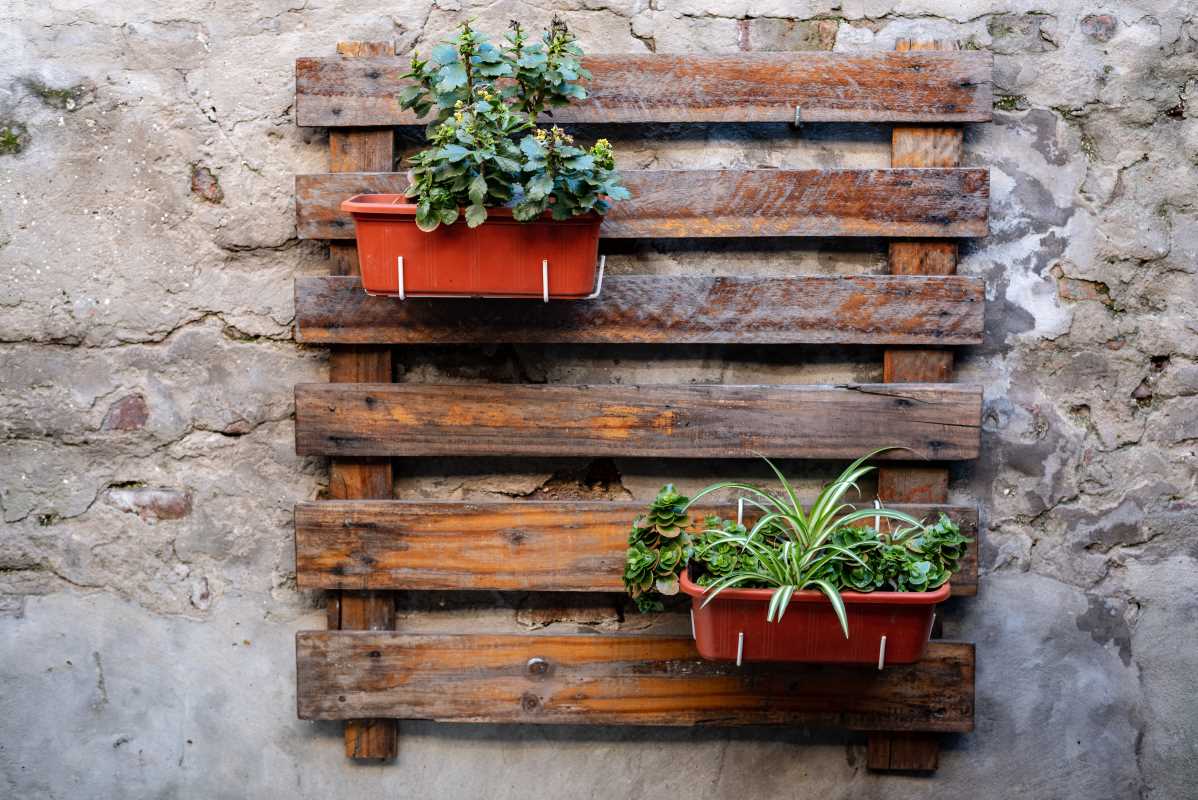
Displaying your finished wooden sign can be as creative as making it. For a classic look, mount it on a wooden plaque or frame and hang it above a mantel, door, or wall space. Using black or vintage-style nails can enhance the rustic aesthetic.
Another idea is to incorporate the sign into outdoor decor. Attach sturdy hooks and hang it on a fence, porch, or garden gate to add a welcoming touch to your outdoor spaces. For a more modern twist, lean the sign against a wall using decorative brackets or place it on a shelf alongside other rustic or industrial elements. The versatility of your sign allows it to complement various styles and settings, making it a personalized statement piece in any environment.
Creating a distressed wooden sign with personalized engraving is a meaningful way to express your style and creativity. With the right materials and a bit of patience, you can craft a beautiful, unique piece that adds warmth and personality to any space.
 (Image via