 (Image via
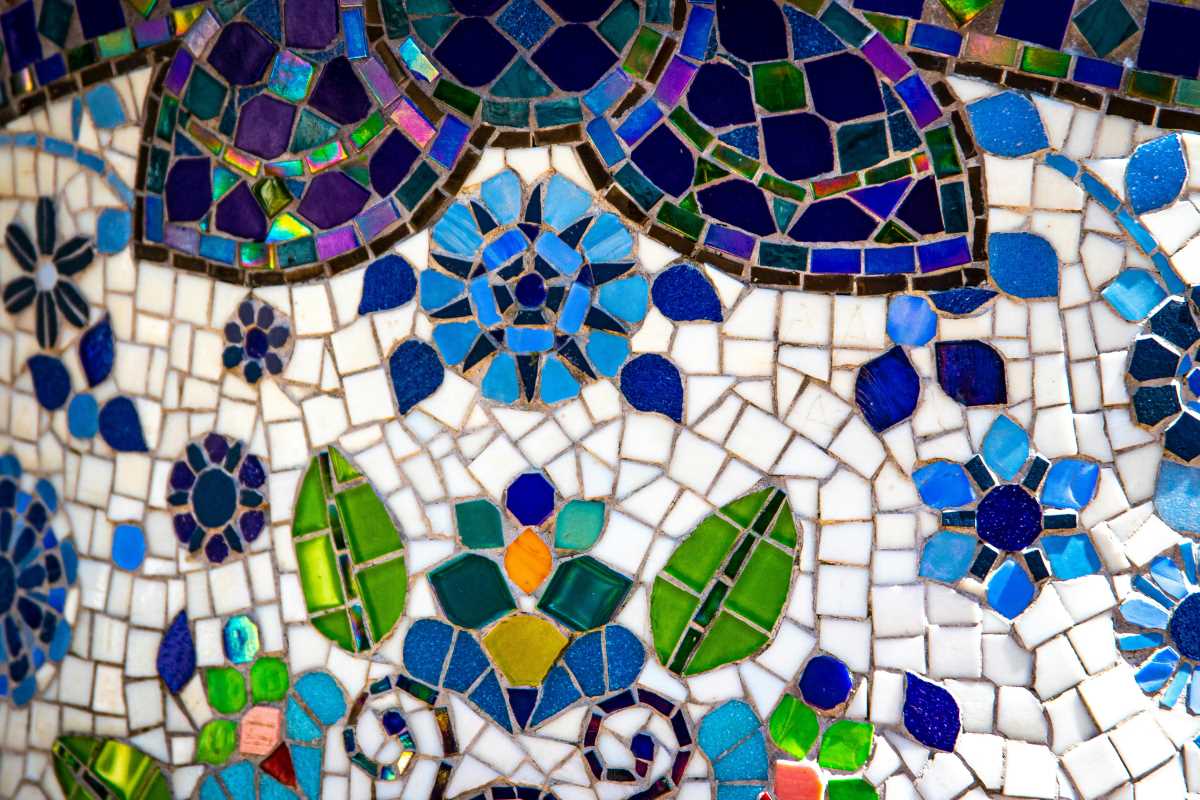
Designing your living space with a personalized touch can be both rewarding and fun. One fantastic way to showcase your creativity is by crafting an artistic mosaic tabletop using broken tiles. This DIY project breathes new life into old materials and results in a unique piece that can become a conversation starter in any room. Whether you want to refresh your dining area or add character to your coffee table, designing a mosaic tabletop is an accessible project for enthusiasts of all skill levels.
Gathering Materials
Before diving into the creative process, gather all the necessary materials to ensure a smooth and enjoyable experience. Having everything on hand will prevent interruptions and allow you to focus on your design.
- Broken Tiles – Collect a variety of colors and shapes to add depth and interest to your design.
- Tabletop – Choose a wooden or glass base, depending on your preference and the desired finish.
- Tile Adhesive – Use a high-quality adhesive to secure the tiles firmly to the tabletop.
- Grout – Select a grout color that complements your tile selection to fill in the gaps.
- Protective Gear – Gloves and safety glasses are necessary when handling broken tiles.
- Tools – You’ll need a trowel, grout float, sponge, and a mixing container.
- Sealant – Apply a sealant after grouting to protect your mosaic from spills and stains.
- Painter’s Tape – Useful for protecting edges and creating clean lines.
Preparing the Tabletop
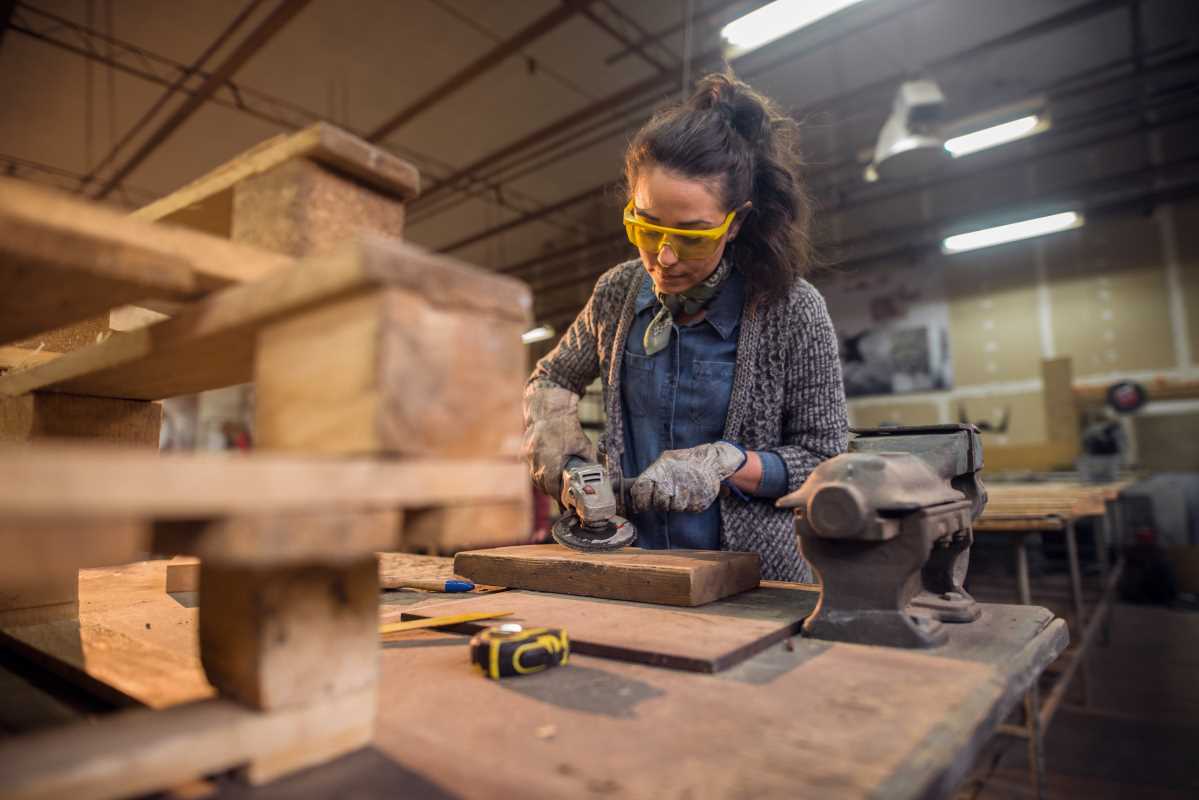
Preparing the surface of your tabletop is crucial for ensuring that your mosaic adheres correctly and remains durable over time. Taking the time to prep will also help achieve a smooth and professional-looking finish.
- Clean the Surface: Thoroughly clean the tabletop to remove any dust, grease, or debris. A clean surface ensures better adhesion of the tiles.
- Sand if Necessary: If you’re working with a wooden tabletop, lightly sand it to create a rough texture that helps the adhesive bond more effectively.
- Apply Painter’s Tape: Painter’s tape protects the edges of the tabletop and outlines your design area, helping to maintain clean lines.
- Prime the Surface: Depending on the material of your tabletop, apply a primer to ensure the adhesive sticks properly. Allow it to dry completely before proceeding.
- Measure and Plan: Measure the dimensions of your tabletop and sketch out a rough design layout. Planning ahead can save time and reduce mistakes during the tile placement.
Creating the Mosaic Design
Designing your mosaic is where your creativity truly shines. You can choose geometric patterns, abstract art, or even replicate intricate images. The key is to plan your layout carefully to ensure a balanced and aesthetically pleasing result.
Selecting the right broken tiles is essential for achieving the desired look. Mix and match different colors, sizes, and textures to create visual interest. Lay out your tiles on the floor first to experiment with different arrangements before committing to the tabletop. This step allows you to make adjustments easily and ensures that your final design is cohesive and harmonious.
Applying the Tiles
With your design planned out, the next step is to place the tiles onto the prepared tabletop. This process requires patience and precision to ensure that each tile adheres securely and aligns properly with your design.
Begin by using the trowel to apply a generous amount of tile adhesive to a small section of the tabletop. Press each tile firmly into the adhesive, following the design layout you previously established. Use spacers if necessary to maintain consistent gaps between tiles. Work in manageable sections to prevent the adhesive from drying too quickly. As you place each tile, periodically step back to assess the overall pattern and make any necessary adjustments to maintain the integrity of your design.
Grouting and Finishing Touches
Once all the tiles are in place and the adhesive has dried, it’s time to apply grout. Grouting fills the gaps between tiles, enhancing the mosaic's appearance and providing additional stability.
Mix the grout according to the manufacturer’s instructions and apply it evenly across the mosaic surface using a grout float. Press the grout firmly into the gaps to ensure complete coverage. After a few minutes, use a damp sponge to wipe away any excess grout from the tile surfaces. Allow the grout to cure fully before applying a sealant to protect your mosaic tabletop from moisture and stains. Finally, inspect your work to clean any remaining grout haze and make any necessary touch-ups to achieve a flawless finish.
Designing an artistic mosaic tabletop using broken tiles combines creativity with craftsmanship. By carefully gathering your materials, preparing the surface, and thoughtfully designing and applying your tiles, you can create a stunning piece that reflects your personal style. Whether you're a seasoned DIY enthusiast or a beginner looking to start a new project, this mosaic tabletop will add a unique and beautiful touch to your home.