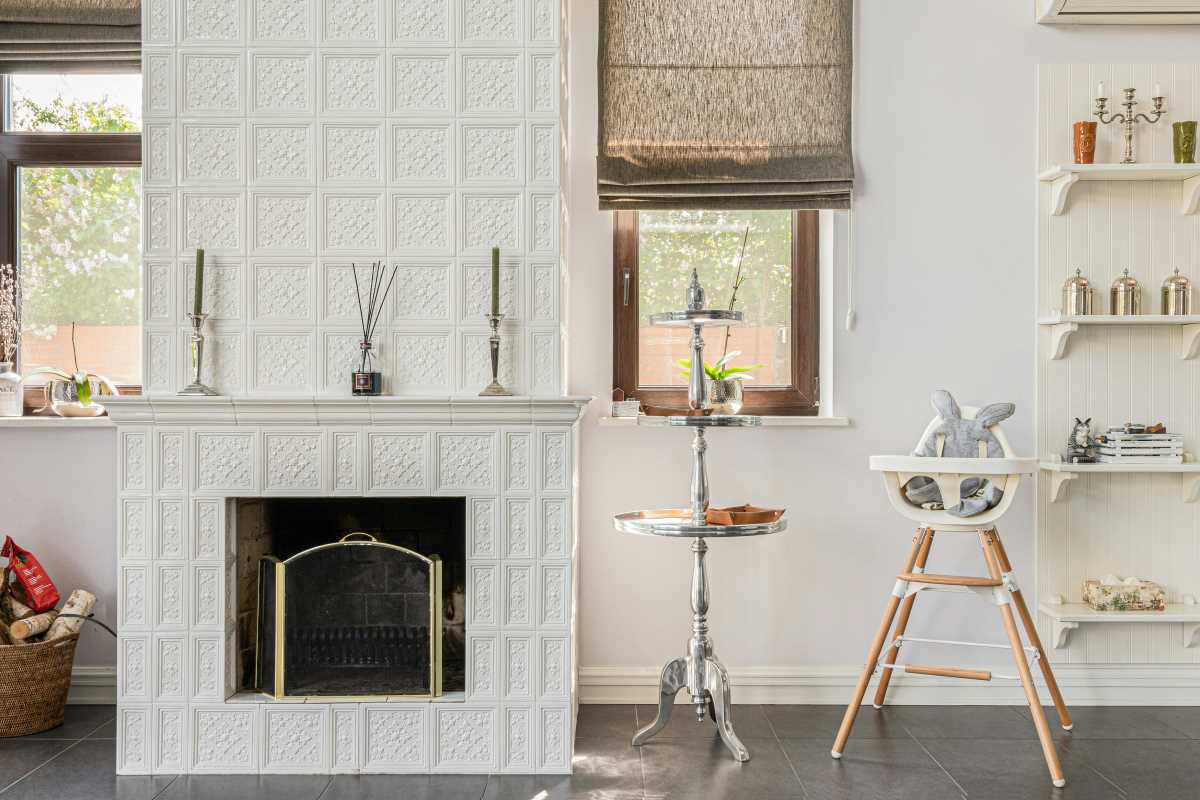
Revitalize an old fireplace to breathe new life into your home's ambiance and elevate its overall aesthetic. The addition of a beautiful tile mosaic enhances the visual appeal and adds a touch of elegance and personalization to your living space. Whether you are a seasoned DIY enthusiast or beginning your first home improvement project, this guide will walk you through each step of upgrading your fireplace with a stunning tile mosaic design.
Why Choose a Tile Mosaic for Your Fireplace?
Choosing a tile mosaic offers both aesthetic and functional benefits that make it an excellent choice for fireplace upgrades. Tile mosaics provide a versatile platform for creative expression, allowing homeowners to customize their fireplaces to match their unique style and décor.
- Versatile Material Options: Tiles come in a wide variety of materials such as ceramic, porcelain, glass, and natural stone, each offering distinct textures and finishes.
- Durability: High-quality tiles resist heat and moisture, ensuring that your fireplace remains both beautiful and functional for years to come.
- Easy Maintenance: Tile surfaces are simple to clean and maintain, making them a practical choice for high-traffic areas like fireplaces.
- Design Flexibility: With endless color and pattern possibilities, tile mosaics allow for intricate designs that can serve as a focal point in any room.
Planning Your Fireplace Upgrade
- Measure the Space: Begin by accurately measuring the dimensions of your existing fireplace. This measurement helps you determine the amount of tile and materials you need for the project.
- Select Your Tiles: Choose tiles that complement your home's color scheme and style. Consider factors such as size, shape, and texture to create a cohesive look.
- Set a Budget: Establish a realistic budget that includes the cost of tiles, adhesive, grout, tools, and any additional materials. Allocating funds for unexpected expenses is also advisable.
- Create a Design Plan: Sketch a rough design of your tile mosaic, experimenting with different patterns and color combinations until you find the perfect arrangement.
- Gather Resources: Research local suppliers or online retailers to find the best deals on the materials you need, ensuring you stay within your budget.
Materials and Tools Needed
- Tile mosaic tiles (ceramic, porcelain, glass, or natural stone)
- Tile adhesive or mortar
- Grout in a color that complements your tiles
- Tile spacers
- Notched trowel
- Tile cutter or wet saw
- Tile nippers for intricate cuts
- Grout float
- Protective gloves and safety goggles
- Measuring tape and level
- Painter's tape for masking areas
- Sealant (if using natural stone tiles)
Step-by-Step Guide to Creating a Tile Mosaic
- Prepare the Surface: Clean your existing fireplace thoroughly, removing any soot, dust, or old finishes. Ensure the surface is dry and smooth before proceeding.
- Apply Painter's Tape: Tape off the edges of the fireplace to protect surrounding areas from adhesive spills and grout splatters.
- Plan Your Design: Lay out your tile mosaic design on paper first. Once satisfied, transfer the pattern onto the fireplace wall using a pencil or chalk.
- Mix the Adhesive: Following the manufacturer's instructions, mix the tile adhesive or mortar to achieve a smooth, workable consistency.
- Start Tiling: Using the notched trowel, apply adhesive to a small section of the fireplace wall. Begin placing your tiles according to the planned design, using tile spacers to maintain even gaps.
- Cut Tiles as Needed: Use a tile cutter or wet saw to trim tiles to fit around edges and corners. Tile nippers can help create intricate shapes for more detailed designs.
- Allow Adhesive to Set: Let the adhesive dry completely, typically for 24 hours, to ensure the tiles stay firmly in place.
- Apply Grout: Mix the grout according to the package instructions. Using a grout float, spread the grout over the tiled surface, pressing it into the gaps between tiles.
- Clean Excess Grout: Wipe away excess grout with a damp sponge, being careful not to remove grout from between the tiles. Allow the grout to cure as directed.
- Seal the Tiles: If you are using natural stone tiles, apply a sealant to protect against stains and moisture. Follow the sealant manufacturer's instructions for proper application.
- Final Inspection: Once everything is dry and sealed, remove the painter's tape and inspect the mosaic for any touch-ups or adjustments needed.
Tips and Tricks for a Professional Finish
- Choose High-Quality Tiles: Investing in quality tiles can make a significant difference in the final appearance and longevity of your mosaic.
- Use Consistent Spacing: Tile spacers help maintain uniform gaps between tiles, ensuring a neat and professional look.
- Protect Surrounding Areas: Always use painter's tape or plastic sheeting to safeguard surfaces from adhesive and grout spills.
- Work in Small Sections: Applying adhesive and grout to smaller areas at a time prevents the materials from drying out too quickly and allows for better control.
- Take Your Time with Cutting: Carefully measure and cut tiles to avoid mistakes that can disrupt your design and require additional materials.
- Seal Grout Lines: Sealing grout lines not only enhances their appearance but also provides added protection against moisture and stains.
- Clean Tools Immediately: Clean your tools right after use to prevent adhesive and grout from hardening, making them easier to use in future projects.
- Practice Patience: Rushing through the process can lead to errors. Take your time to ensure each step is completed thoroughly for the best results.
Upgrading your fireplace with a tile mosaic is a rewarding project that can significantly enhance the beauty and functionality of your home. By following this comprehensive guide and utilizing the provided tips, you achieve a stunning transformation that reflects your personal style and elevates your living space. Whether you choose bold colors and intricate patterns or subtle tones and simple designs, a tile mosaic fireplace is sure to become a cherished centerpiece in your home.
 (Image via