 (Image via
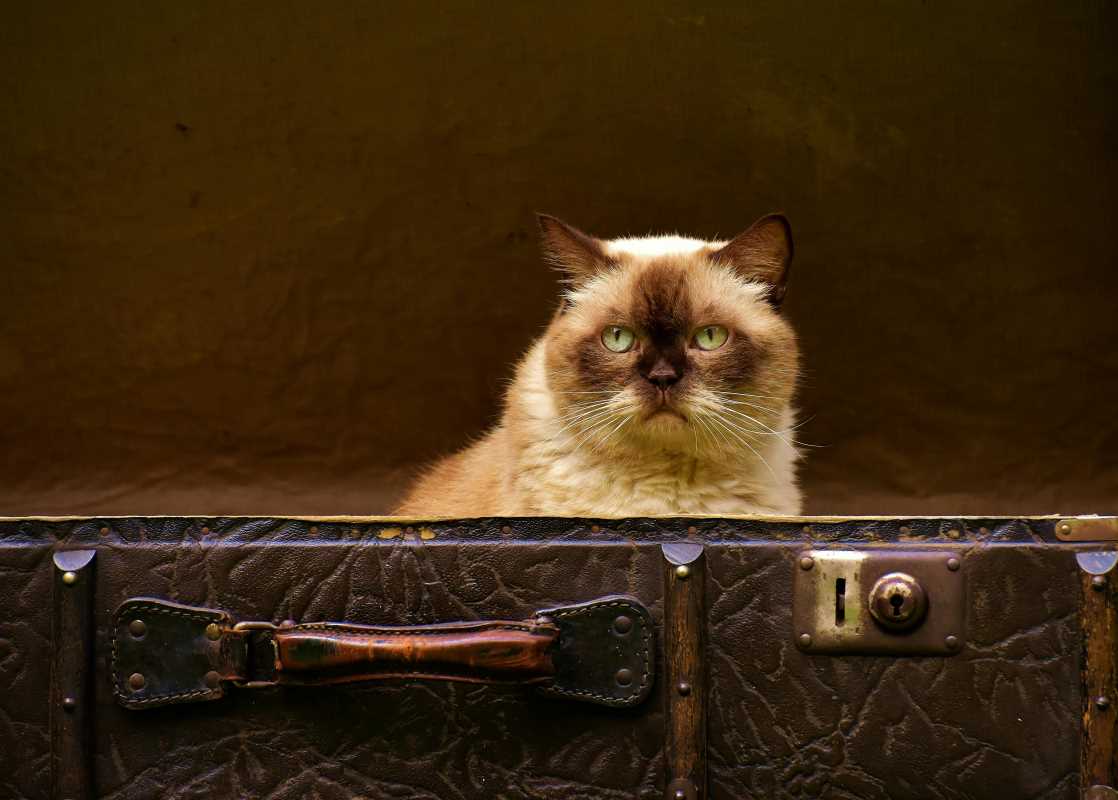
Convert a vintage suitcase into a cozy pet bed that charms you as it renews old luggage and gives a comfortable nook to your furry friend. This DIY project not only adds a unique piece to your home décor but also celebrates the timeless appeal of retro suitcases. Whether you are a seasoned DIY enthusiast or a beginner, this guide will walk you through each step to build a personalized pet bed that both you and your pet will love.
Materials Needed
- Vintage suitcase
- Memory foam or cushion
- Fabric of your choice
- Fabric glue or a sewing kit
- Scissors
- Measuring tape
- Decorative elements (optional)
- Non-slip padding
- Marker or chalk for markings
Choosing the Right Vintage Suitcase
Selecting the perfect vintage suitcase lays the foundation for your pet bed project. Consider the size of your pet to ensure the suitcase provides ample space for them to lounge comfortably. Measure your pet’s length and height, adding a few extra inches to determine the appropriate suitcase dimensions. Inspect the suitcase for any structural weaknesses or broken parts that might need repair or reinforcement.
The style and color of the suitcase should complement your home’s interior. Whether you prefer a classic leather look or a colorful patterned fabric, numerous vintage suitcases can match your aesthetic preferences. Explore thrift stores or antique shops to find a unique piece that stands out and adds character to your pet’s new bed.
Preparing the Suitcase
- Clean the Suitcase: Start by thoroughly cleaning the suitcase. Remove any dust, dirt, or old debris using a vacuum and a damp cloth. If the suitcase has stubborn stains, use an appropriate cleaner suitable for its material.
- Reinforce the Structure: Check the hinges and handle to ensure they are sturdy and secure. If any parts are loose, use strong adhesive or screws to reinforce them. This step is crucial to ensure the longevity and safety of the pet bed.
- Remove Inner Components: Take out any internal trays, compartments, or hardware that might interfere with the bed’s comfort. Smooth out any sharp edges to prevent injury to your pet.
- Measure and Mark: Use a measuring tape and marker to outline the area where the cushion will fit. This ensures that the cushion size matches the suitcase’s dimensions perfectly.
Assembling the Pet Bed
With the suitcase prepared, it’s time to assemble the pet bed. Start by cutting the memory foam or cushion to fit the marked area inside the suitcase. Ensuring a snug fit will provide your pet with a comfortable and secure resting place. If you prefer a more cushioned feel, you can layer multiple foam pieces or add a plush topper.
Next, cover the cushion with your chosen fabric. Measure and cut the fabric to size, allowing some extra material to tuck under the edges for a neat finish. Use fabric glue for a no-sew option or sew the fabric securely to the cushion for a more durable cover. Make sure the fabric is soft and washable for easy maintenance.
Adding Personal Touches
- Pillows and Blankets: Add a soft pillow or a small blanket inside the bed to enhance comfort and make it feel more inviting.
- Decorative Trims: Use ribbons, lace, or fabric trims to embellish the edges of the suitcase, giving it a personalized and stylish look.
- Paint or Stain: Apply a subtle paint or stain to the suitcase’s exterior to match your home décor or to add a pop of color.
- Pockets for Toys: Attach small pockets or pouches to the inside or outside of the suitcase to store your pet’s favorite toys or treats.
- Lighting: Install a small, battery-operated LED light inside the suitcase for added visibility and a cozy ambiance during nighttime.
Maintaining Your Custom Pet Bed
Once you assemble your custom pet bed, regular maintenance will keep it comfortable and in good condition. Periodically check the structure of the suitcase for any signs of wear and tear, especially if your pet is active. Tighten any loose screws or reinforce weak spots as needed to maintain the bed’s stability.
Keep the fabric cover clean by washing it according to the manufacturer’s instructions. If you opted for a no-sew cover, consider using removable covers or blankets that you can easily launder. Regular cleaning not only prolongs the bed’s lifespan but also keeps your pet’s resting area fresh and hygienic.
Choosing the Perfect Spot for the Pet Bed
Decide on the ideal location for your pet’s new bed, considering both your pet’s preferences and your home’s layout. Place the bed in a quiet corner where your pet can relax undisturbed, or position it in a central area where they can observe household activities while still having their own space.
Ensure that the spot you choose is free from direct sunlight and drafts to maintain a comfortable temperature inside the bed. Consider the accessibility for your pet; if your pet is older or has mobility issues, placing the bed on a lower surface might make it easier for them to get in and out.
Incorporating Functional Features
To enhance the usefulness of your custom pet bed, think about adding features that benefit both you and your pet. For example, adding a built-in water bowl holder can keep your pet hydrated without needing to search for water. Similarly, attaching a removable tray can provide a convenient spot to place your pet’s toys or feeding supplies.
Another practical addition is installing a small door or flap on the suitcase to make it easier for your pet to enter and exit the bed. This feature can be particularly useful for pets that prefer a private space or for those who like to hide and come out as they please.
Creating a custom pet bed using vintage suitcases delights you by blending functionality with nostalgia. With a bit of creativity and effort, you can craft a unique and comfortable space for your beloved pet that stands out as a stylish element in your home. Enjoy the process and take pride in your handiwork as your pet indulges in their new, personalized retreat.