 (Image via
Nothing matches the excitement of bringing vintage woodworking tools back to life. Each restoration reveals the skill of earlier makers, and the tools themselves respond with a satisfying presence as you handle them. Exploring their background and understanding how they were built gives you both appreciation and a sense of assurance before you begin your own repairs. This guide covers every step, from finding a promising item among flea market offerings to carefully installing a sharpened blade in perfectly restored stock, preparing your newly revived tool for its next project.
What Defines Antique Hand Tools
People have shaped wood with simple devices for centuries. Before electric saws and power planes, crafters relied on chisels, planes, spokeshaves, and braces. Each tool bears marks of wear: patina on brass nuts, slight warps in wooden handles, and fine scratches across iron. Those signs tell stories about how someone used—and valued—them.
Familiarize yourself with common names: the smoothing plane, the block plane, the mortise chisel. Brands like Stanley and Record dominated workshops a hundred years ago. Once you recognize model numbers stamped on the casting, you can hunt down manuals or restoration tips specific to that design.
Assessment and Preparation
Start with a clear workspace and good lighting. Lay out each tool on a stable bench. Look for cracks in wooden handles, rust pitting on metal surfaces, or missing parts like screws or fence pieces. Take notes or snap photos to track what you need.
- Check wood: test for splits by gently flexing handles.
- Inspect metal: run a fingernail over rust spots to judge depth.
- Find missing parts: list screws, knobs, wedges, or rollers required.
When your list looks complete, gather supplies: wire brushes, rust remover, fine steel wool, a set of files, and replacement hardware. Always consider repair costs when buying old tools. Sometimes a bargain becomes expensive once you include shipping costs for rare parts.
Cleaning and Rust Removal
Rust corrodes metal but leaves a surface you can restore through patience. Start with a degreaser and a toothbrush to clear away old oil and grime. Scrub firmly, then rinse and dry immediately with a cotton cloth to halt oxidation.
Apply a rust remover gel or soak smaller parts in a vinegar bath for several hours. After the soak, use fine steel wool or a brass brush to clear leftover spots. Always scrub along the grain of the metal, not against it. Dry parts thoroughly and coat them lightly with mineral oil to prevent new rust from forming.
Repairing and Replacing Parts
Some wooden handles and knobs suffer cracks or chips. Fill small splits with epoxy mixed to match the handle’s original stain. Clamp gently overnight until the resin cures. Sand down any rough edges to blend the repair smoothly into the surrounding wood.
If you lose fittings, search online shops for vintage tool hardware or adapt modern screws that match thread counts. When you strip a screw head, use a screw extractor. Keep removal steady and avoid drilling too deep. With a matching part in place, you will restore the tool’s full functionality.
Sharpening and Tuning
Your blade’s edge makes all the difference. Secure the plane iron or chisel in a honing guide, then start at 1000-grit water stones. Make ten passes on each side, holding a consistent angle—often around 25 degrees. Switch to 4000-grit then 8000-grit to refine a mirror finish.
- Flatten back of blade first.
- Establish primary bevel at coarse grit.
- Refine bevel at medium grits.
- Polish edge on fine grits.
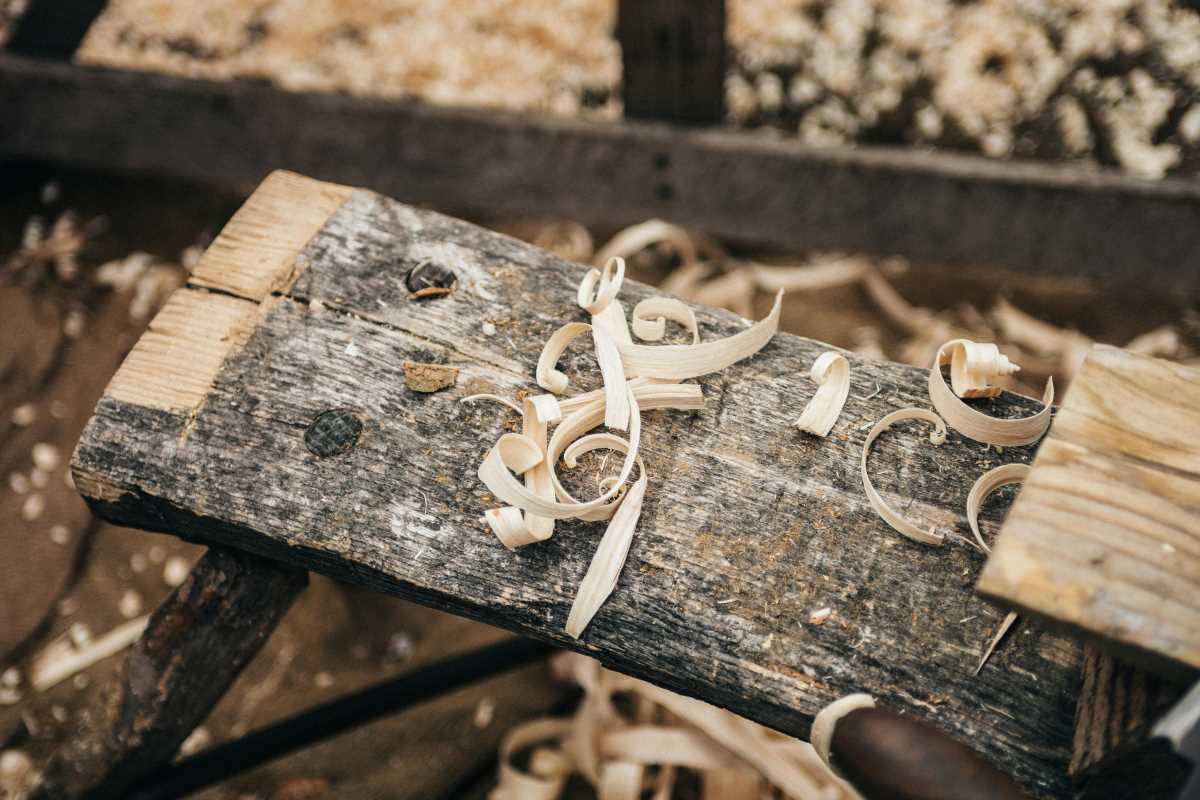
Once the blade gleams, reinstall it in the plane body. Adjust the cap iron and depth lever until the iron protrudes evenly. Test on a scrap piece of soft wood, looking for a continuous, curled shaving.
Finishing Techniques
Metal surfaces benefit from a protective wax or paste to repel moisture. Rub a thin coat of Renaissance Wax, let it set for a minute, and buff with a lint-free rag. Wood stock takes linseed oil or paste wax. Apply one coat, let it soak briefly, then wipe off excess.
Checking each part after finishing helps identify any binding caused by swelling. Loosen screws or remove a thin shaving of wood with sandpaper if you feel stiffness. The tool should glide smoothly when you operate its moving parts.
Rescued tools enhance your workspace and craftsmanship. Replacing dull blades with *rescue* tools creates a connection to traditional woodworking. Let these revived classics inspire your next project.