 (Image via
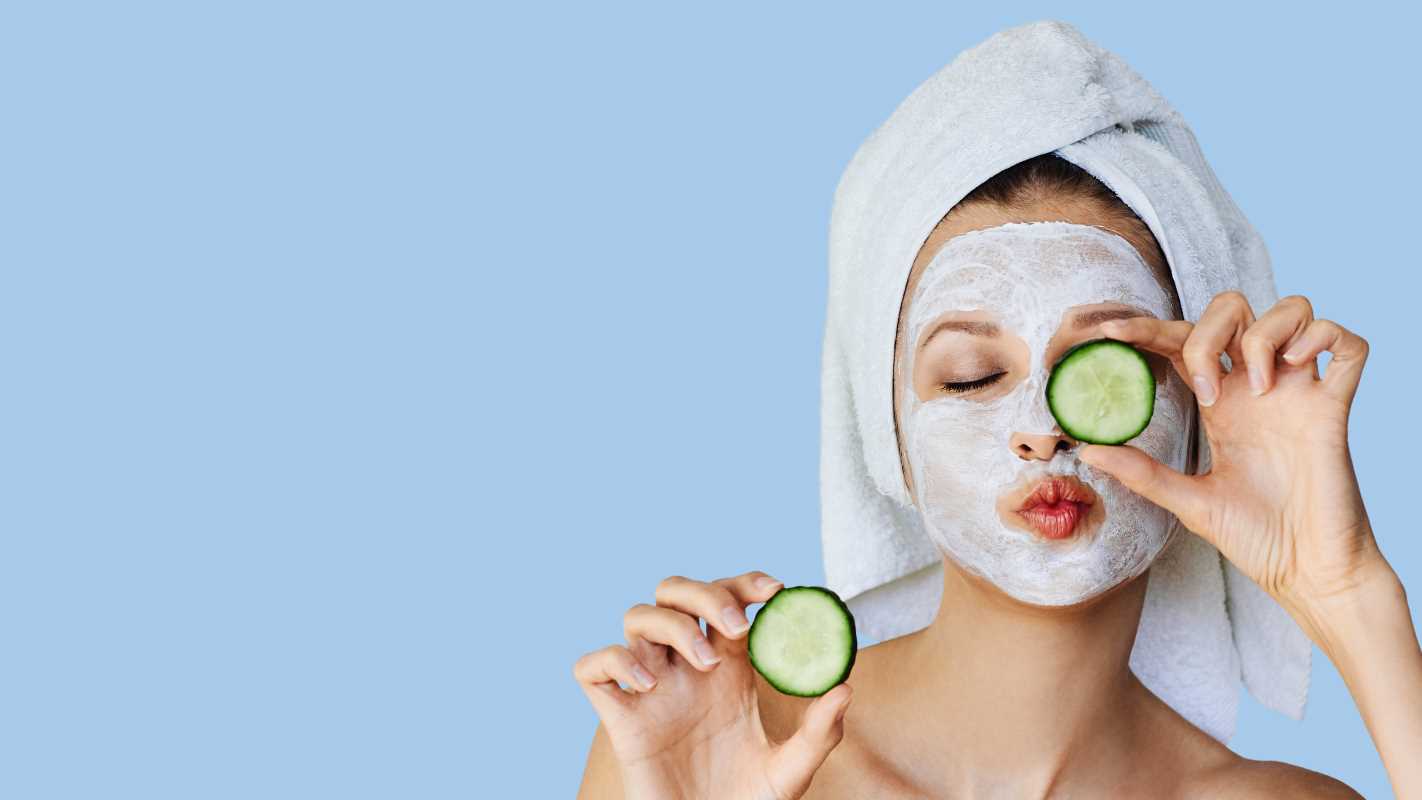
Countless beauty brands line the shelves, each claiming to deliver radiant, healthy skin. Yet, achieving a pampered glow does not require pricey serums or luxurious creams. Everyday ingredients from your kitchen, such as honey, yogurt, oats, and avocado, often provide the same nourishing benefits found in store-bought products. Mixing these simple staples can create effective, spa-like treatments right at home. This guide introduces seven easy-to-make beauty recipes, walking you through each step so you can enjoy natural, glowing results while enjoying the creative process in your own space.
Gather your favorite mixing bowls, spoons, and measuring cups before you start. Make sure you have a clean work surface and a few small glass jars or containers to store each creation. You might even discover new favorite rituals that fit into your weekly routine without breaking the bank. Let’s dive in and make your beauty moments feel like mini celebrations.
What You’ll Need
- Honey (raw or unfiltered)
- Plain yogurt (full-fat or Greek)
- Oat flour or finely ground oats
- Avocado (ripe)
- Coconut oil (melted)
- Olive oil (extra virgin)
- Baking soda
- Egg whites
- Lemon juice (freshly squeezed)
- Banana (ripe)
- Essential oil (optional, lavender or tea tree)
- Glass jars or airtight containers
- Wooden or stainless steel spatula
Once you lay out all these items, you will move through each recipe smoothly. Store any leftovers in the refrigerator and label them with the date you made them, so you always know when it’s time to refresh. Clean all tools thoroughly between making different masks to prevent cross-contamination of scents or ingredients.
Clear counters and assemble a small mirror close by. Turn on some relaxing music or chat with a friend while you mix. These DIY beauty products can become a ritual you actually look forward to after a long day.
DIY Face Mask Recipes
- Honey & Yogurt Glow MaskCombine two tablespoons of plain yogurt with one tablespoon of honey. Stir until you have a smooth paste. Apply an even layer to clean skin, avoiding the eye area. Leave on for 15 minutes, then rinse with warm water. Honey feeds your skin’s natural barrier while yogurt gently exfoliates.
- Oatmeal Soothing MaskMix two tablespoons of oat flour with a teaspoon of coconut oil and enough warm water to form a thick paste. Smooth it over irritated or dry patches on your face. Let it sit for 10–12 minutes, then wash off and pat skin dry. Oats calm redness and lock in moisture.
- Brightening Lemon & Baking Soda MaskMeasure one teaspoon of baking soda and blend it with one teaspoon of fresh lemon juice. Add a little water if the mix feels too grainy. Gently massage onto skin in circular motions, then rinse thoroughly after five minutes. This mask offers a quick pick-me-up for dull areas, but avoid if you have sensitive skin or open cuts.
- Avocado & Egg White Firming MaskMash half an avocado and whisk in one egg white. Spread the mixture across your face and neck. Allow it to dry for about 15 minutes. Rinse with cool water and notice how supple and tightened your skin feels. This blend boosts elasticity and locks in deep hydration.
- Banana & Olive Oil Super MaskSmash one ripe banana and add one teaspoon of olive oil. Stir until creamy. Apply evenly and let rest for 10 minutes before rinsing away. Bananas supply potassium and vitamins, while olive oil tackles dryness without feeling greasy.
After you finish each mask, press a cool damp cloth against your face to close pores. Follow with a light moisturizer or a drop of coconut oil. Use these recipes twice a week, adjusting based on how your skin reacts.
DIY Hair Treatments
- Egg & Olive Oil Strengthener: - Ingredients: 1 egg yolk, 1 tablespoon of olive oil. - Benefits: Adds protein, repairs split ends.
- Coconut Oil & Honey Deep Conditioner: - Ingredients: 2 tablespoons of melted coconut oil, 1 teaspoon of honey. - Benefits: Seals moisture, boosts shine.
- Yogurt & Lemon Scalp Scrub: - Ingredients: 2 tablespoons of plain yogurt, 1 teaspoon of lemon juice, a pinch of baking soda. - Benefits: Removes buildup, soothes itchiness.
Work each treatment through damp hair, focusing on ends or scalp as needed. Cover with a warm towel or shower cap, then let it sit for 20–30 minutes. Rinse with cool water and style as usual. Store these masks in clearly labeled jars for up to one week in the fridge.
Alternate hair treatments weekly based on your hair’s condition. You will notice softer strands, fewer tangles, and better manageability after just a couple of sessions.
Tips for Customizing Your Beauty Products
Since every person’s skin and hair react differently to natural ingredients, start by testing a tiny patch of skin behind your ear or on your inner forearm. If irritation appears within 15 minutes, skip that recipe or swap in gentler components. For extra hydration, add a drop of your favorite essential oil, like lavender or rosemary, to most recipes.
Adjust texture by tweaking water or oil ratios. Thicker masks cling better to oily areas, while lighter blends suit drier spots. Keep a journal detailing which combinations gave you the best glow, so you can recreate them easily. You might also experiment with ground coffee, green tea leaves, or avocado pits to customize scrubs and masks.
Safety and Storage Guidelines
Always use fresh ingredients. Discard any mix that changes color, develops an off smell, or has sat in the fridge for more than seven days. Use clean utensils and airtight containers to prevent bacterial growth. Label each jar with the date you made it so you stay aware of freshness.
If you have sensitive or allergy-prone skin, choose the mildest recipes first, like oatmeal or yogurt masks. Wear gloves when handling strong components like lemon juice or baking soda. Remember that natural ingredients can still irritate, so observe your skin’s response closely.
Keep coconut oil and honey-based treatments at room temperature. Masks containing dairy, eggs, or fresh fruit require refrigeration between uses. Thoroughly clean bowls and spatulas with hot, soapy water to keep everything safe and hygienic.
Making your own beauty products in the kitchen can feel empowering and creative. You will save money, cut down on plastic waste, and enjoy a fresh, personal approach to skincare and haircare.
Try different kitchen ingredients to see how your skin and hair react. With some trial and error, you can create a natural beauty routine that works for you. Happy mixing!