 (Image via
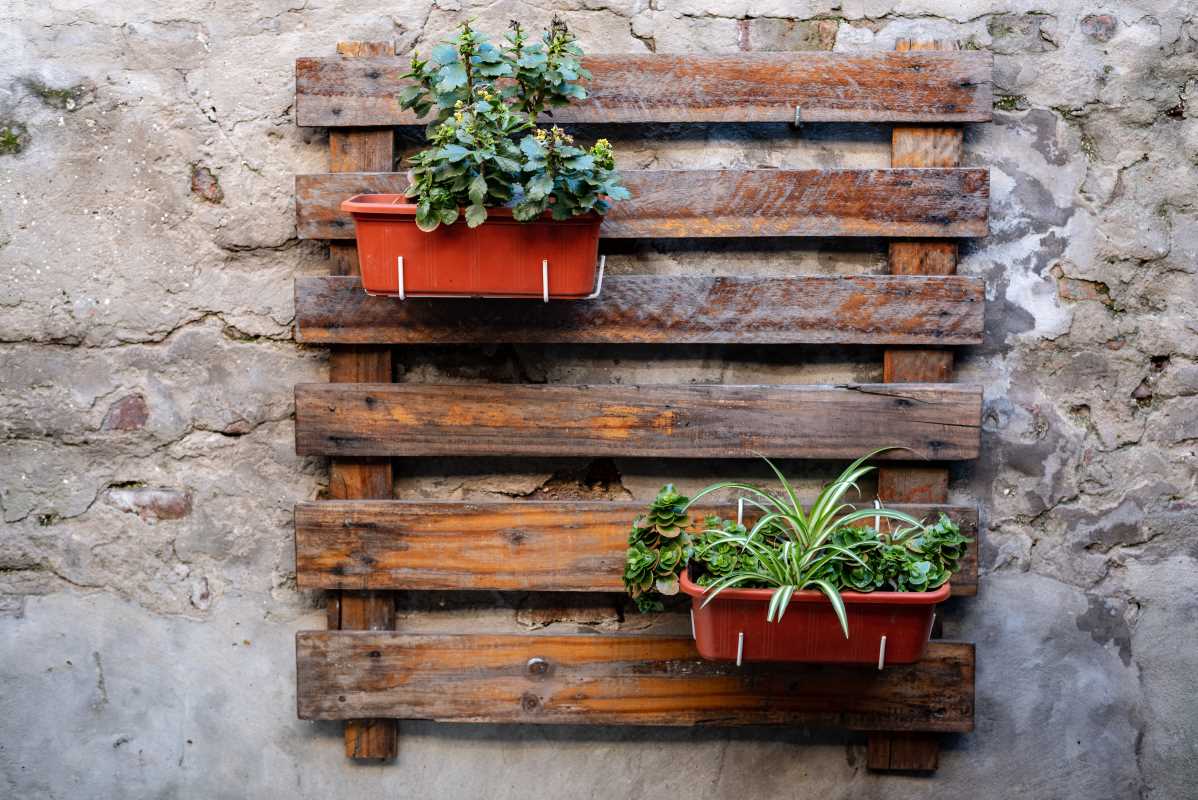
Crafting a unique furniture piece brings a sense of accomplishment as you move from design selection to shaping the wood and preparing it for its final touch. Adding the right finish can truly celebrate your hard work and breathe new life into your project. By using five advanced finishing techniques, you can enhance the beauty, durability, and character of your furniture well beyond the standard stain-and-varnish approach. Each technique invites you to experiment with texture, color, and protective layers, allowing your creation to stand out while reflecting your personal style and attention to detail.
You’ll learn how to build layered finishes, use tools you might already own, and handle unexpected hiccups. Grab your brushes and safety gear—let’s dive into finishes that make wood truly stand out.
Materials and Tools You’ll Need
- Fine-grit sandpaper (320–600 grit)
- High-quality brushes and foam applicators
- Lint-free cloths or tack cloths
- Respirator mask and gloves
- Small spray gun or spray canister
- Wood dye or tinted oil finishes
- Grain filler (sanded for your wood species)
- Clear epoxy resin kit
- Rubber gloves and mixing cups
- Buffing pad and polishing compound
Arrange these within easy reach. Lay down drop cloths to catch drips. Good lighting helps you spot dust or uneven spots before they become permanent. A small fan speeds drying and keeps dust from settling.
French Polishing
- Prepare wood by sanding to a smooth finish, ending at 400 grit.
- Mix shellac flakes dissolved in denatured alcohol until you have a thin solution.
- Wrap a soft cloth in a cotton ball, creating a “fad.”
- Dampen the fad lightly and apply circular motions, building up thin layers.
- Let each coat dry for 15 minutes, then lightly wipe with a clean cloth.
French polishing gives a glowing sheen and highlights natural grain. Each thin shellac layer blends into the wood, creating depth you can’t achieve with wiping varnish. Work in small sections and keep your hand moving to avoid streaks.
If you notice dull areas, add a drop of oil on the fad for lubrication and buff out the surface. Patience pays off—expect to apply at least 10 coats for a truly glassy look.
Spray Finishing
Spray finishing provides an even, factory-style coat. You control thickness and avoid brush marks. Start by thinning your finish according to manufacturer guidelines. Thinner coats dry faster and reduce orange peel.
Hold the spray gun about 6–8 inches from the surface and move in steady passes. Overlap each pass by 50 percent. If you see runs or sags, let the coat dry for five minutes, then sand those areas with 600-grit paper before re-spraying.
Apply at least two coats of primer, followed by two coats of topcoat—water-based polyurethane works well. Between coats, lightly scuff with 320-grit sanding pads. Wear a respirator; spraying particles stay airborne longer than you might expect.
Wet Sanding and Buffing
After your finish cures for a minimum of 72 hours, wet sanding smooths out microscopic bumps and dust nibs. Submerge 1000-, 1500-, and 2000-grit sandpapers in water mixed with a drop of dish soap. Keep the surface wet to prevent scratches.
Sand gently in circular motions. After removing the final grit, rinse off any residue and let the surface dry completely. Next, apply a fine polishing compound with a soft buffing pad. Use a slow-speed drill attachment or a hand pad for better control.
This step turns a matte-coated piece into a high-gloss masterpiece. Work in sections no larger than one square foot. Check your progress under bright light to ensure you catch every swirl and haze.
Grain Filling with Dye
Filling open grain on woods like oak or ash creates a velvety smooth surface that shows color more vividly. Mix a pigmented dye with a compatible filler or use a pre-colored paste. Test on a scrap piece to perfect your shade.
Use a thin putty knife to press filler into the pores. Wipe off the excess with a clean cloth or card scraper. Let it cure fully—often overnight. Next, sand flush with 320-grit paper, revealing a uniform, level surface ready for topcoat.
The dye component sinks into grain, adding tint, while the filler smooths the wood. Apply a thin coat of wiping varnish to lock in color. You’ll notice deeper contrast between heartwood and rays that yearly growth left behind.
High Gloss Epoxy Coating
For tabletops or bar counters, a thick epoxy finish creates a glass-like barrier. Mix resin and hardener in equal parts. Stir slowly to minimize air bubbles. Add a small amount of tint if you want a colored tint.
Pour the mixture onto the center and let it flow outward. Use a small brush to guide epoxy into corners. If bubbles rise, pass a butane torch flame briefly across the surface—don’t linger or scorch the finish.
Allow 24 to 48 hours to cure. Lightly sand edges with 800-grit to remove any sharp drips. This finish creates a puddle-deep look that’s also waterproof. It stands up to wine spills, hot mugs, and playful pets.
Maintenance and Care Tips
- Dust regularly with a microfiber cloth to avoid grit scratching your finish.
- Use coasters and trivets under hot or wet items.
- Wipe up spills quickly; epoxy and polyurethane resist moisture but can stain over time.
- Reapply wax polish every six months on shellac or French-polished pieces.
- Store furniture away from direct sunlight to prevent yellowing or fading.
Gentle care extends the life of your advanced finishes. If you notice minor scratches, use a tiny dab of matching finish to blend them in. For epoxy tops, avoid abrasive cleaners—mild soap and water work best.
You have learned five ways to enhance wood’s natural character and achieve professional results at home. These methods add personality and durability to your DIY projects.