Small patios can become enchanting green retreats when you create a vertical garden using materials you might usually discard. With just a bit of creativity, you can turn bare walls into living displays filled with fresh herbs, colorful flowers, and interesting succulents. Repurposed wood, wire grids, and recycled containers work together to support your plants while adding a unique touch to your outdoor space. Even with limited room, you can develop a garden that expresses your style and brings vibrant life to your patio. This simple approach lets you enjoy nature’s beauty and maximize every inch of your outdoor area.
Building up instead of out frees up valuable floor square footage. From old ladders to discarded crates, your vertical structure becomes a creative statement and a practical home for plants. With a few smart choices, you’ll turn leftover scraps into a flourishing green display that welcomes morning light and evening breezes alike.
Creative Reuse That Shapes Vertical Appeal
By stacking reclaimed pieces, you highlight everyday materials in fresh ways. You avoid common talk about cost savings or environmental impact; instead you spotlight how a vintage wooden shutter can cradle potted herbs in staggered tiers, giving plain walls a sculptural rhythm. Using wire mesh from a discarded fence section, for instance, you can weave small recycled tin buckets through the grid, arranging them at different depths so trailing vines overlap in lush cascades rather than line up like strict rows.
A second angle comes from combining textures. Picture painted plastic bottles clipped to a slim metal rod next to weathered terracotta pots suspended by rope. That mix of crisp color, natural clay, and soft fibers draws the eye upward. You’ll reinvent simple patio walls into layered backdrops, where each container stands out yet harmonizes within the vertical ensemble. And by placing reflective elements—like a small mirror or a piece of shiny metal—amid the plants, you introduce unexpected flashes of light that mimic hidden garden nooks.
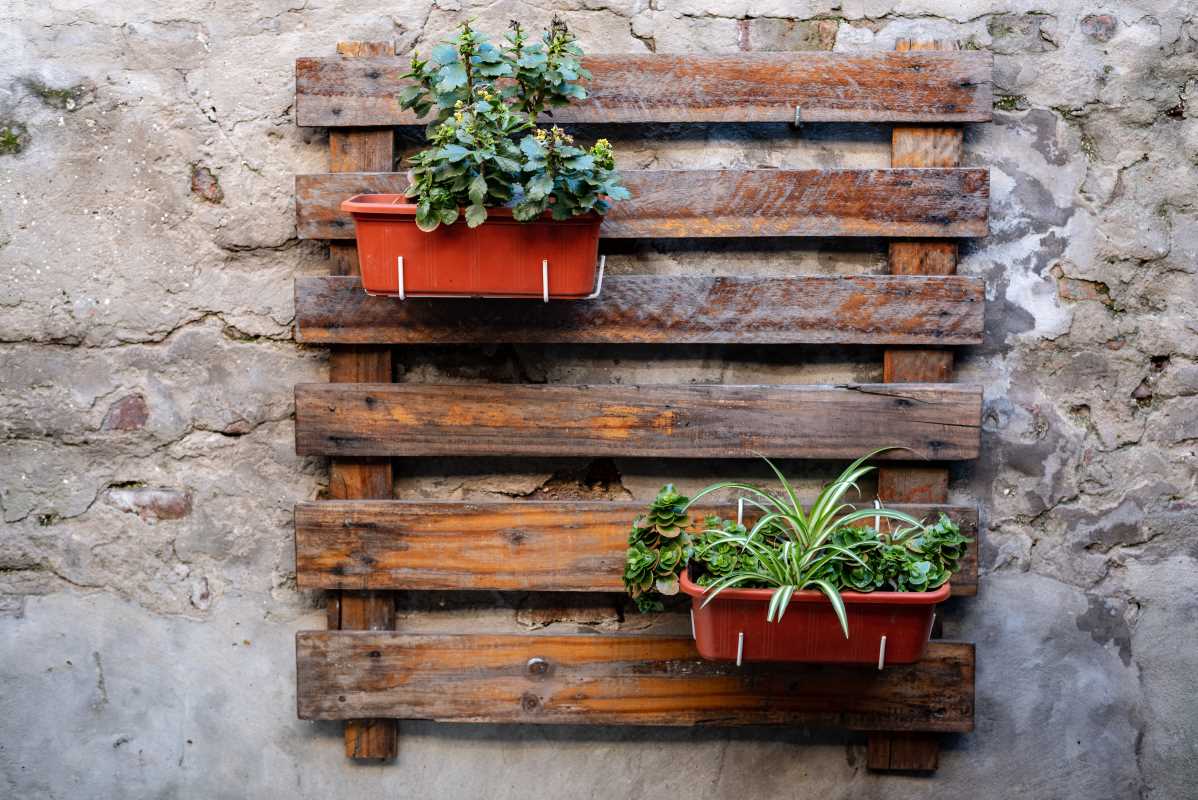
Tools and Steps for Crafting Your Wall Garden
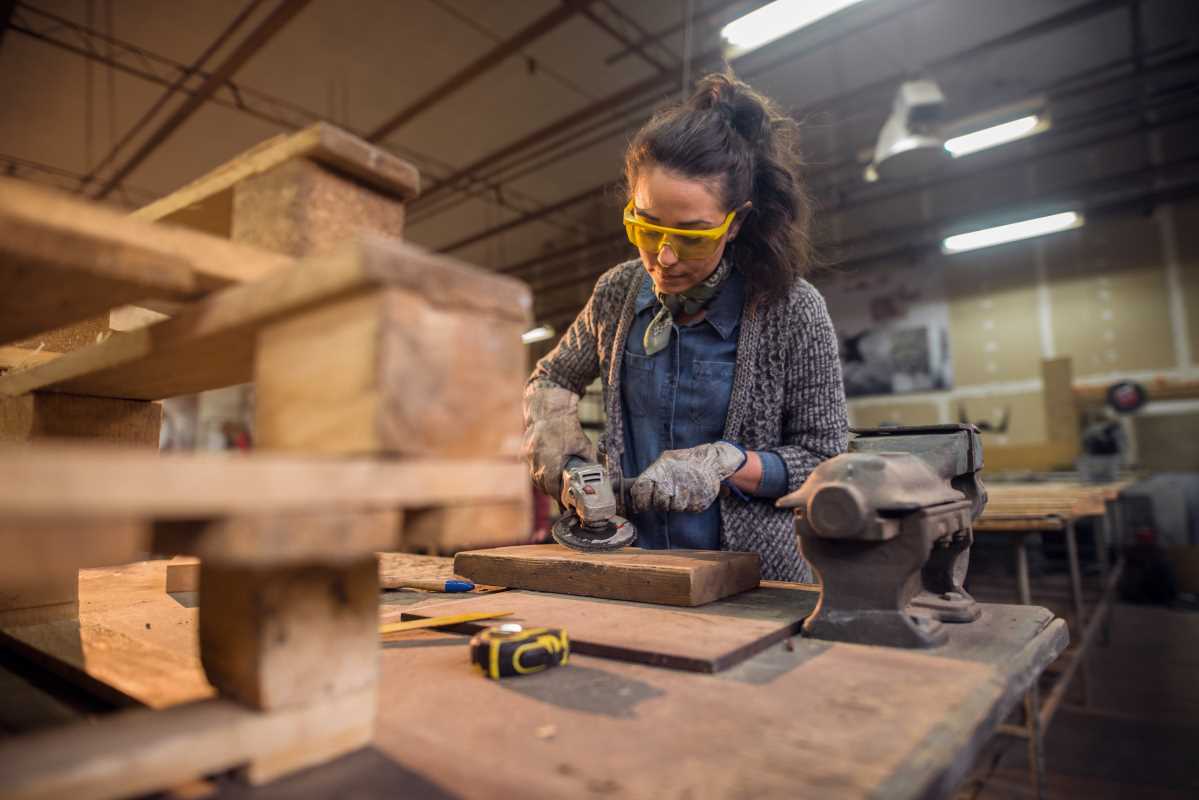
Wooden Frames
Purpose: Define individual areas for pots or soil pockets.
Steps:
- Sand rough edges with medium-grit sandpaper.
- Apply a weather-resistant sealant.
- Attach sturdy eye hooks at the top corners for hanging.
- Cost: Leftover frames cost zero if upcycled; new sealant under $10.
- Insider tip: Lean heavier frames against the wall first to test placement before installing hooks.
- Wire Mesh Grid
Purpose: Support small pots, climbing vines, or hanging containers.
Steps:
- Cut mesh panels to the desired width.
- Secure panels to wooden battens using galvanized U-nails.
- Hang containers with S-hooks and small chains.
- Cost: Mesh remnants from building surplus are often under $5 per panel.
- Insider tip: Angle the grid slightly away from the wall so drainage drips clear instead of soaking the backing.
- Recycled Containers
Purpose: Provide individual homes for seedlings and herbs.
Steps:
- Drill or punch drainage holes in each container.
- Paint or wrap containers with burlap for a cohesive look.
- Attach hanging wire or ribbon securely around the neck or rim.
- Availability: Cans and jars are typically free; spray paint costs around $6 per can.
- Insider tip: Coat containers with chalkboard paint so plant names can be changed easily as you experiment.
Vertical Planter Pockets
Purpose: Install lightweight, breathable soil pockets directly onto the frame.
Steps:
- Fold and stitch two layers of fabric into square pouches.
- Sew belt loops or install grommets along the top edge.
- Hang pockets on hooks, spacing them 6–8 inches apart.
- Cost: Minimal when using fabric scraps; bulk fabric under $8 per yard.
- Insider tip: Line pocket backs with a thin plastic barrier to prevent moisture from staining the wall.
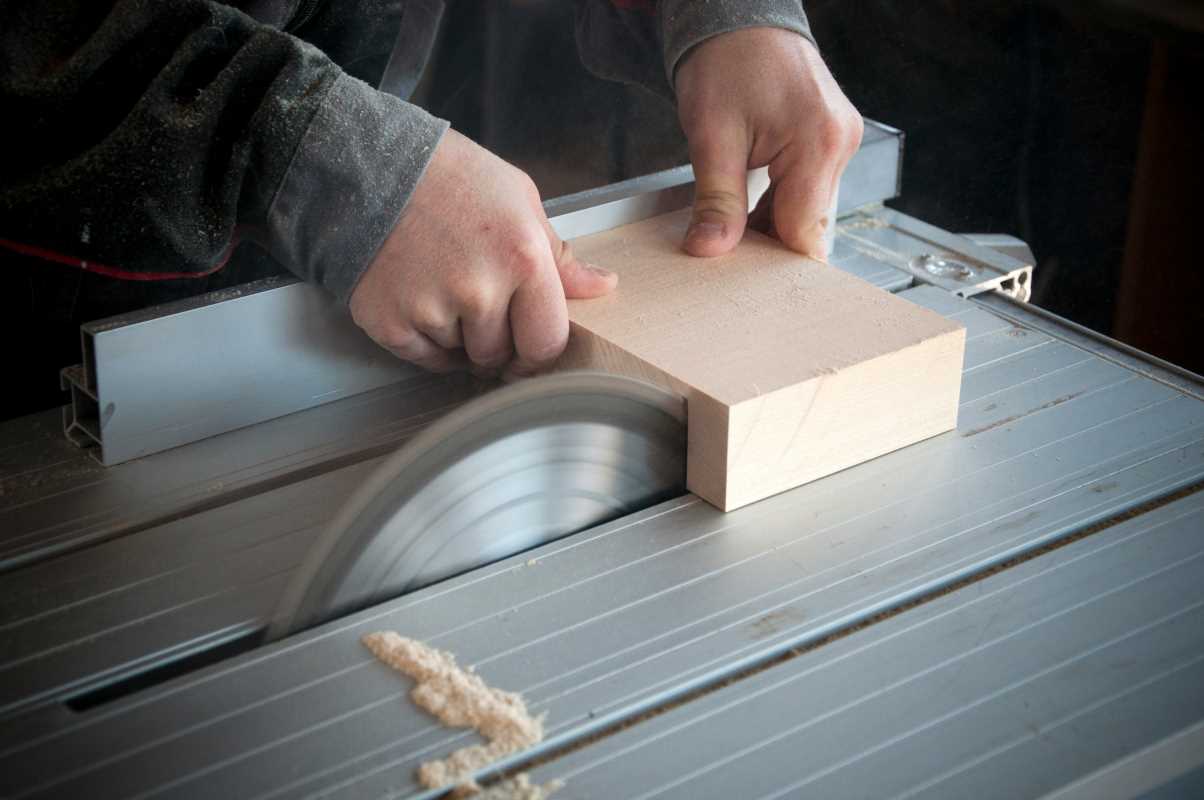
Modular Shelving Rails
Purpose: Create adjustable shelves for easy plant care and rearrangement.
Steps:
- Mount rails at selected heights.
- Cut slim wood planks to match the rail length.
- Slide planks into place and set containers on top.
- Cost: Secondhand rails are often under $7; wood planks may be free if salvaged.
- Insider tip: Apply nonslip rubber tape to the rail edges to keep shelves stable during watering.
Selectting Climbing and Trailing Greenery
Choose a mix of plants that naturally scale walls or drape downward. Vining herbs like oregano send out delicate tendrils that wind around mesh and rope. For lush coverage, train pothos shoots along the frame, clipping them gently every two weeks.
Succulents also thrive when arranged in shallow containers. Pick sedums or small echeverias that stay compact and share water demands. Layer darker-leaf varieties on top shelves and pale-green rosettes below to maximize contrast. Use a bullet list to compare drought tolerance:
- Pothos: fills mesh grids, tolerates low light, water every 7–10 days.
- Oregano: fragrant herbs, needs 6 hours of sun, prune to encourage side shoots.
- Sedum: sun-loving, minimal watering, ideal for upper tiers.
- Echeveria: grows in tight clusters, slow spread, water sparingly.
Maintaining a Compact Vertical Garden
Keep watering simple by grouping plants with similar moisture needs on the same shelf. Install a drip irrigation line along the frame’s spine and attach micro-tubing to each pot. This setup ensures each plant receives water without manual jug pours, preventing oversaturation and saving time.
Rotate containers every few weeks to ensure each side of the vertical array receives equal light. If you notice leggy or pale growth, move that plant higher or closer to direct sun. Prune back overlong vines at a node above a leaf set to encourage fuller branching and prevent tangled messes.
This vertical garden transforms a small patio into a vibrant retreat using affordable, repurposed materials and plants suited for vertical growth. You can create a lush, colorful space, no matter the size of your patio.