 (Image via
Cords often pile up on desks, while gadgets seem to find their way into every corner of a workspace. Creating a dedicated charging station from leftover wood can help organize all your devices in one neat location and bring a unique, handmade element to your desk. Even without advanced woodworking skills, you can put together a functional and attractive charging area that keeps your cables and electronics in order. This simple project offers both convenience and a satisfying sense of accomplishment, making your workspace feel more orderly and inviting every day.
This guide walks you through planning, gathering materials, cutting, and finishing so you end up with a neat hub for gadgets like an iPhone or Samsung Galaxy. Let’s turn those scrap boards into a functional piece you’ll actually want to show off.
How to Plan Your Custom Charging Station
Before grabbing a saw, sketch a rough design. Think about how many devices you want to hold, where you will route the cables, and whether you need spots for pads, watches, or earbuds. Adjust proportions to match your phone size or stand angles for reading screens while charging.
Keep these design points in mind as you plan:
- Device compatibility: slot width and depth for phones, tablets, or power banks
- Cable access: number of USB ports or wireless pads, and where cables will poke through
- Overall style: match your desk’s vibe with rustic, painted, or stained wood
- Stability: add rubber feet or felt pads under heavy sections
Gather and Prepare Scrap Wood
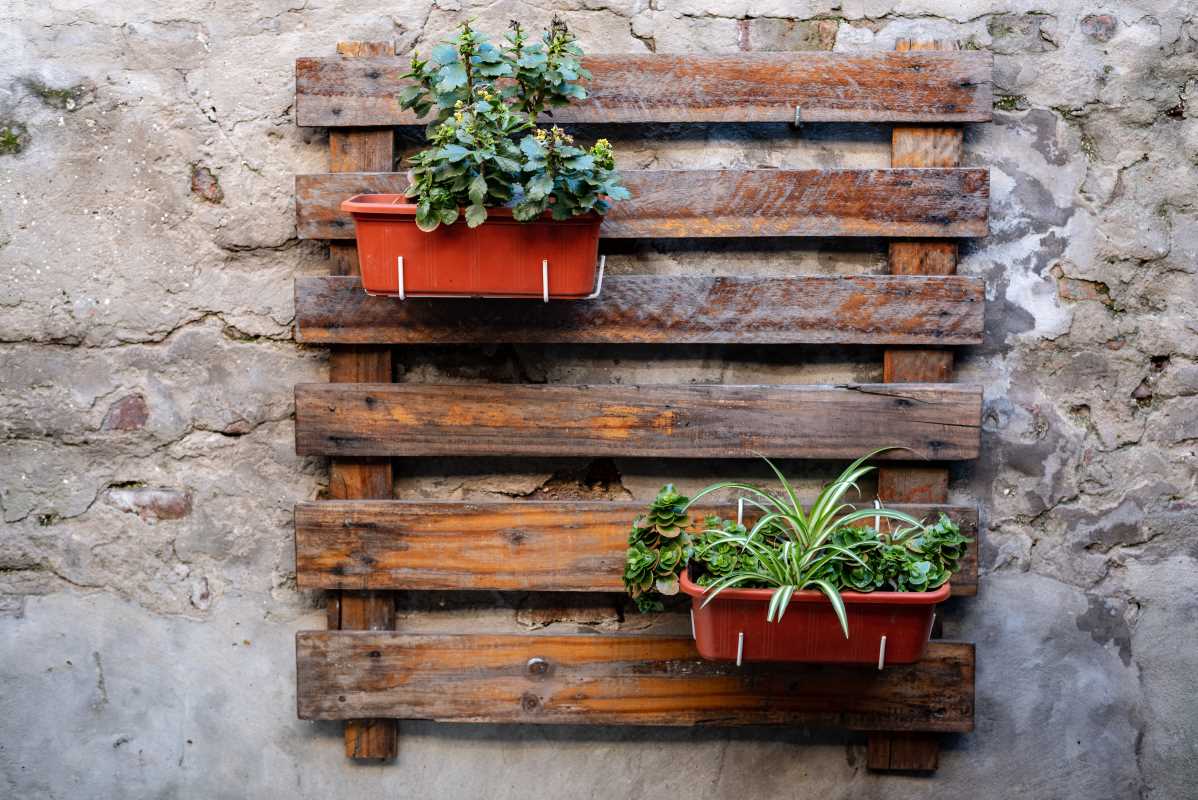
Visit the garage or salvage center to find boards with straight edges and minimal rot. Old pallets, fence pickets, or leftover pine from previous projects often work well. Avoid warped planks that might make assembly difficult.
Follow these steps to prepare each piece:
- Inspect boards for splinters, nails, or screws. Remove any metal with pliers or a pry bar.
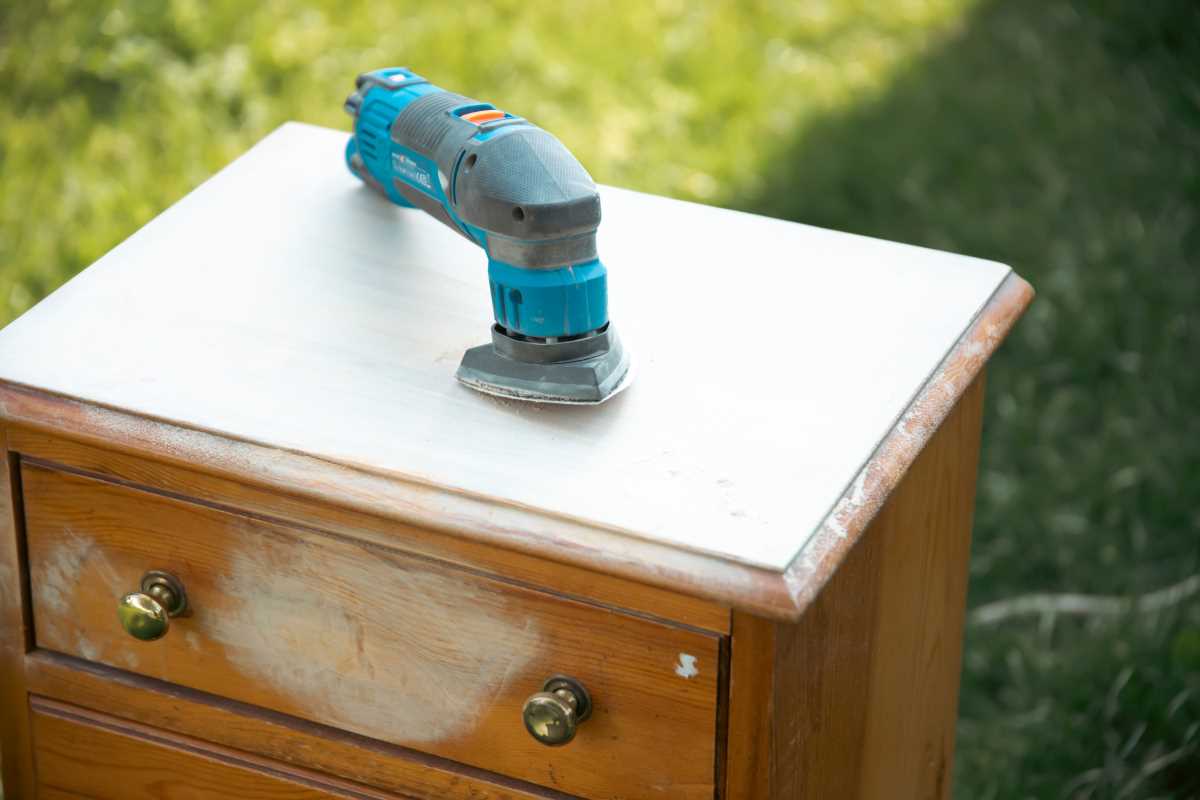
- Sand surfaces starting with 80-grit paper, then smooth with 120- to 150-grit for a clean finish.
- Trim uneven ends using a circular saw or miter saw, ensuring edges meet flush.
- Wipe down every board with a damp cloth to clear away dust before assembly.
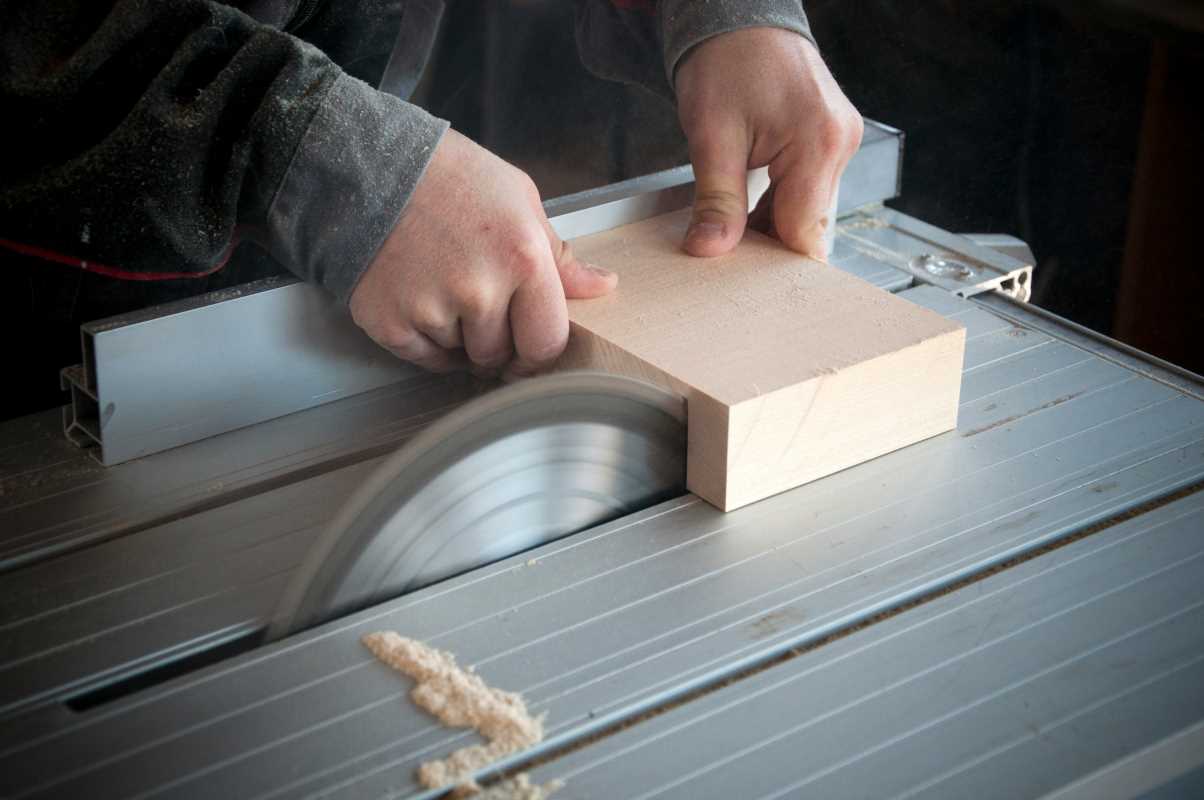
Measure and Cut Wood Pieces
Use a tape measure and marking pencil to plan out each section. Label parts clearly—side panels, base, dividers. Accurate measurements now prevent wobbly fits later on. Double-check each mark before you cut.
Use a straightedge as a guide for your saw or clamp a scrap board to serve as a fence. Cut slowly, keeping your body steady. If you have a jigsaw for curves or holes for cables, practice on scrap pieces so you feel confident on the actual cuts.
Assemble the Charging Station Frame
Lay out the pieces on your work surface in the final arrangement. Drill pilot holes where screws will go to avoid splitting the wood. Clamp two pieces together while you screw them to keep right angles.
Work in this order: attach side panels to the base, then install any back supports and dividers. Use wood glue along joints for extra strength. Wipe away glue squeeze-out immediately with a damp cloth so you don’t have to sand later.
Finish and Manage Cables
A protective finish keeps your station looking sharp. Paint or stain it, then add a clear sealant. For paint, use acrylic latex for easy cleaning. If you prefer stain, wipe on oil-based stain and buff off the excess to bring out the wood grain.
Here’s how to keep cables organized:
- Drill small holes behind each slot so cables feed through from the back.
- Secure charging bricks inside a hidden compartment if needed using hook-and-loop tape.
- Apply adhesive cable clips under the base to route cords in a straight line.
- Label each cable end with colorful tape to match the device it belongs to.
- Mount the wireless charger pad flush in a recessed groove for a smooth surface.
You now have your own custom charging station that looks and works exactly as you envisioned.
With some planning and basic tools, you turn clutter into a neat space. Keep your station clean, touch up finishes, and update dividers as needed. Enjoy an organized setup each time you use it.